GrafDraw, from Surrey Software Services, makes pages: a poster in big lettering, a diagram drawn a dot at a time, a sign in colour. Pages can be printed, shown one after another as a slideshow, or recorded to video. Two programs on the disc do the work: a text page maker, which draws letters at any size, and a graphic page maker for lines, boxes, circles and shading.
The library's GrafDraw disc is version 1.0, and the GrafDraw manual we have is for version 2.0, which has different menus and keys. This guide follows the disc, not the manual. Everything here was done in MAME, with the keys worked out from the program and its own tutorial pages.
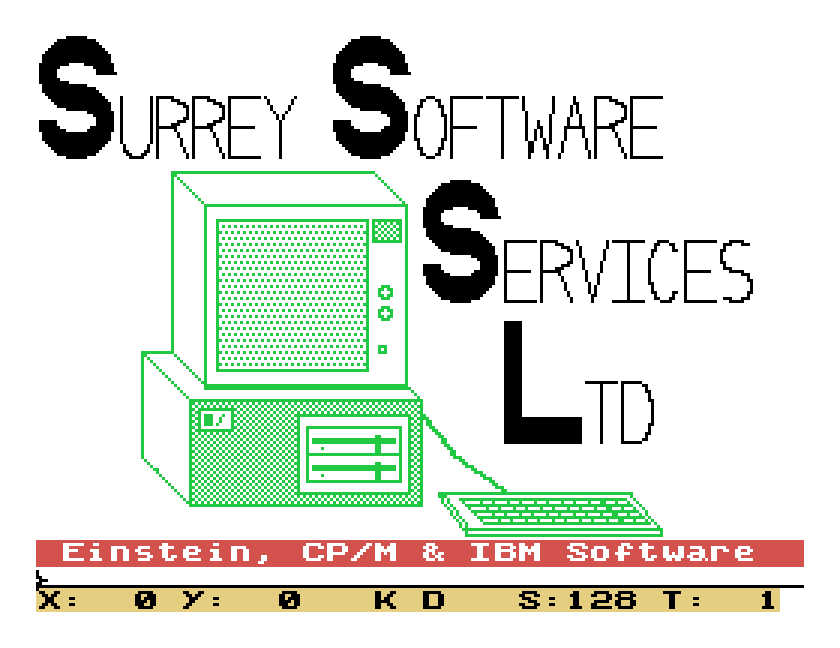
The GrafDraw disc. It starts by itself and goes straight to the main menu.
A disc to keep your pages on. The GrafDraw disc has 2K to spare, and a page in colour takes 12K, so your pages need a disc of their own. GrafDraw's tutorial says a blank disc holds 11 colour pages, or 23 in black and white. Under MAME, make a blank .mfi disc and put it in the second drive with -flop2: DSK, MFI and SCP explains the formats. Give it a name beginning 1: whenever GrafDraw asks for a page name, and the page goes to drive 1.
Under MAME, set up the Einstein as in Setting Up MAME and use the .mfi image of the GrafDraw disc. With the .dsk we got read errors and the wrong pages.
mame einstein -window -flop1 grafdraw.mfi -flop2 pages.mfi
The cursor keys. GrafDraw moves its cursor with the Einstein's two grey cursor keys: the horizontal one moves right, or left with SHIFT, and the vertical one moves down, or up with SHIFT. In MAME those are Tab and Down, with Shift as before. The keys marked [, ], _ and : move diagonally. In MAME, the Left and Right arrow keys press [ and ].
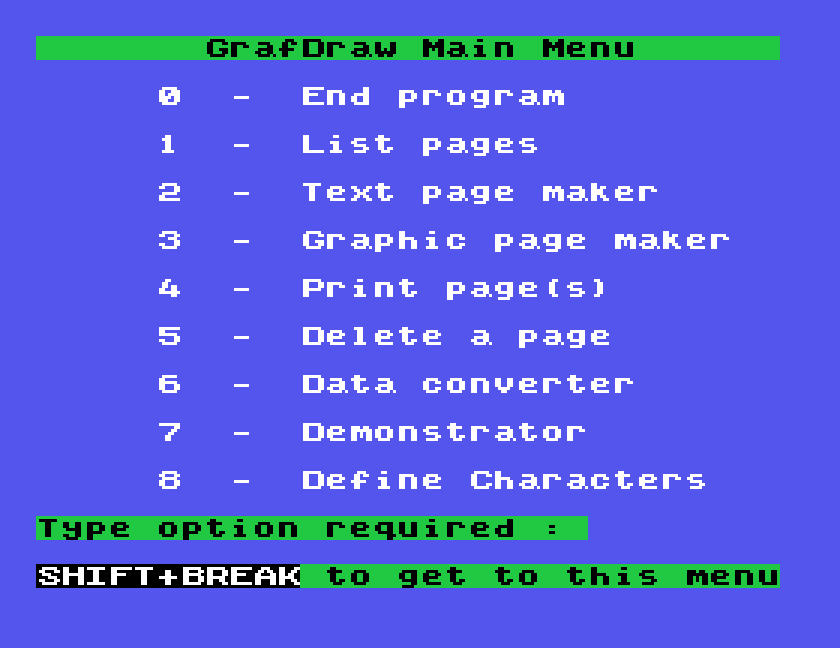
Press a number. The menu says SHIFT+BREAK brings you back to it from any part of the program. In MAME we could not make SHIFT+BREAK do anything. What does work is CTRL+BREAK, which restarts the Einstein, and the disc boots straight back to this menu, so save your page first. After a restart, choose 1 and list the pages on your data drive before you load from it: until you do, GrafDraw cannot find them.
1, List pages, asks for a drive number and lists the files on it. They all end in .OBJ, and on the GrafDraw disc that includes the program's own parts and its character sets, so leave those alone. Press SPACE to go back. 5, Delete a page, asks for a name.
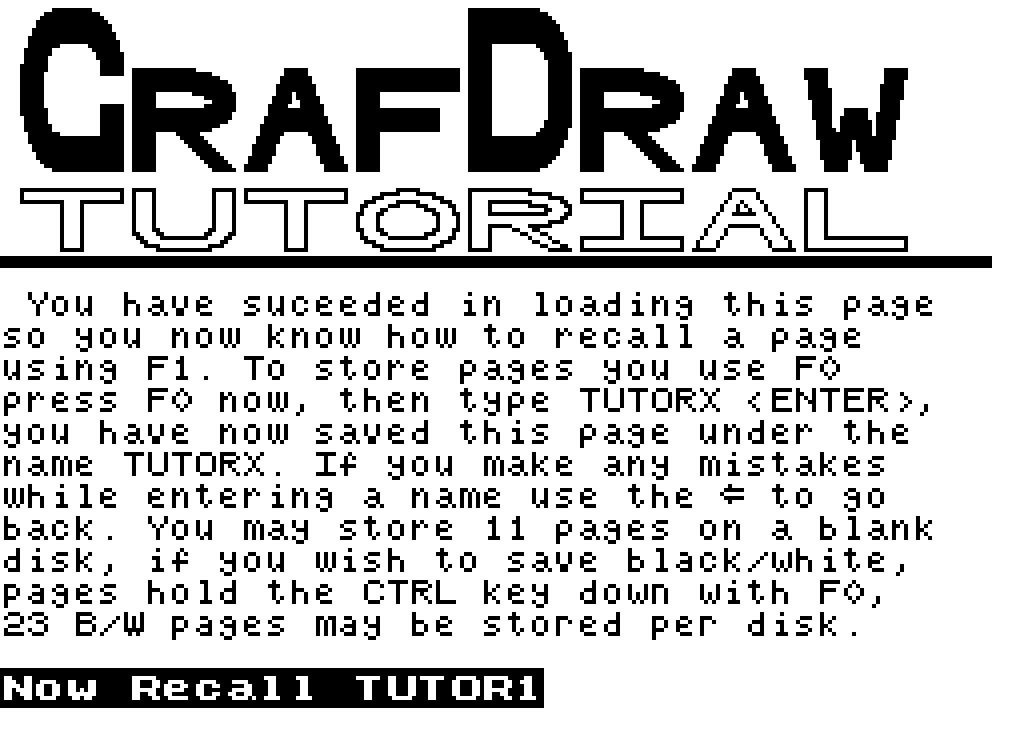
The disc carries its own six-page tutorial. Choose 3, the graphic page maker, press F1, type TUTOR and press ENTER, then press any key when it asks for the data disc. Each page ends by telling you the name of the next: TUTOR1, then TUTOR2, and so on to TUTOR5.
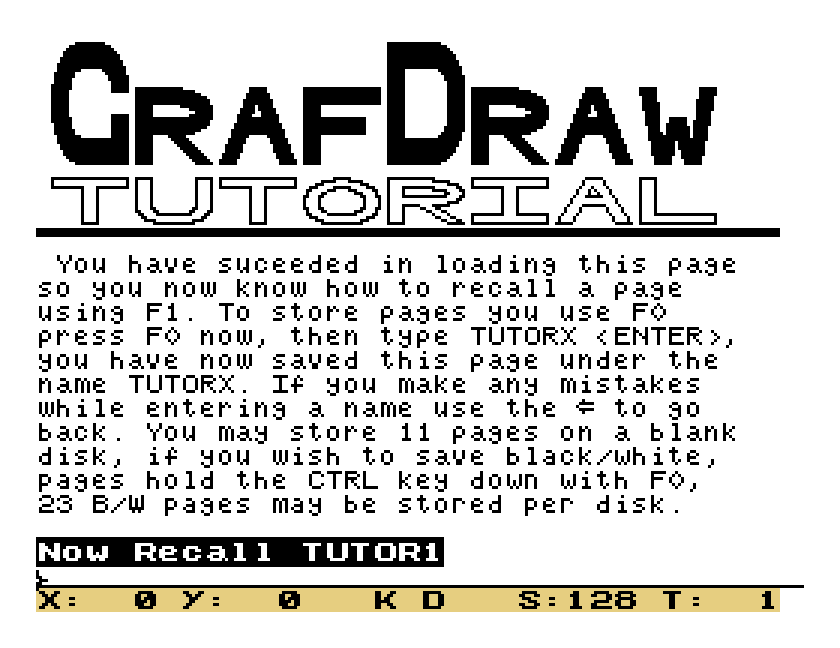
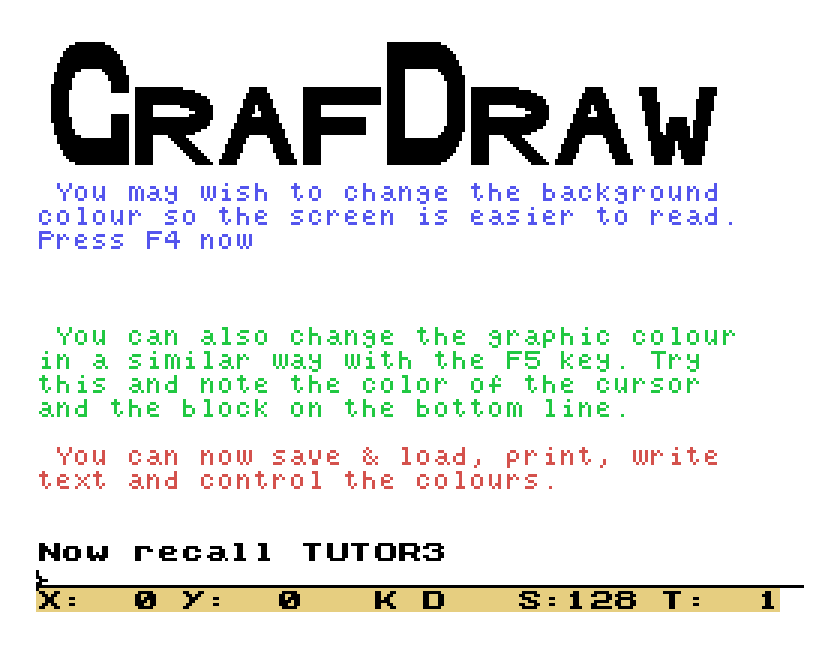
Choose 2. The page is white, with the cursor, four corners marking a box, at the bottom left. The line underneath shows where the cursor is (X and Y), how wide and tall the next letter will be (W and H, in dots), a symbol for the letter style, and the colours.
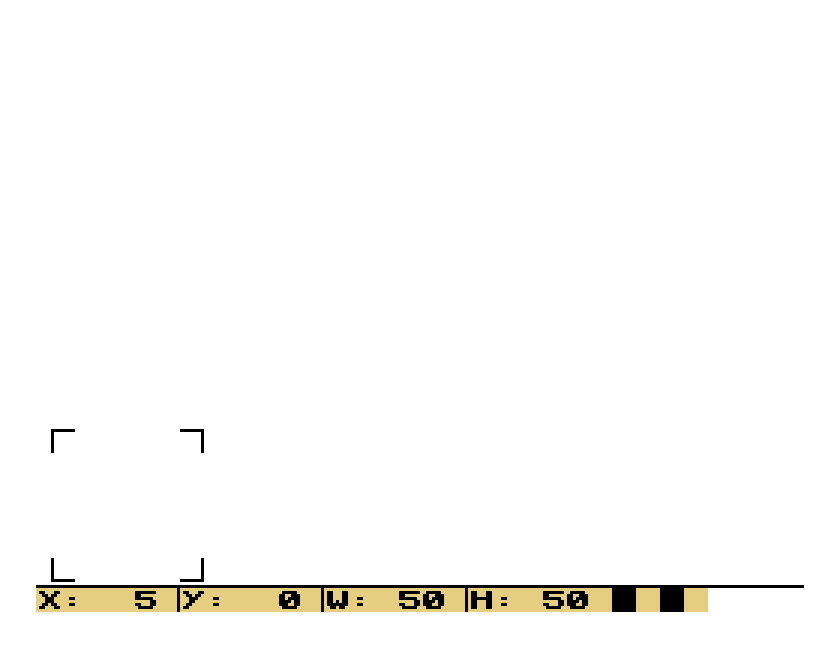
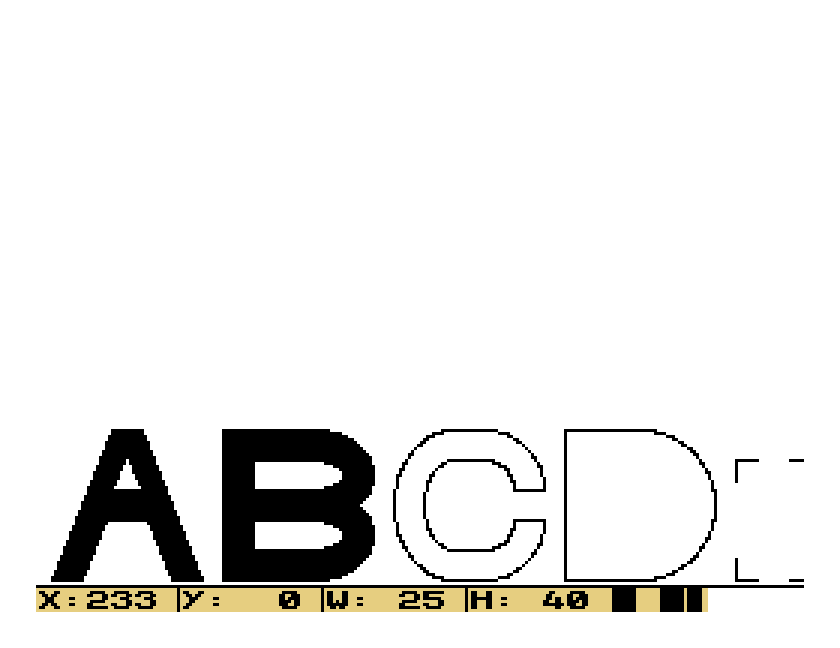
Type a letter and it is drawn in the box, and the box moves on. Letters, digits and most punctuation work; lower case comes out as capitals. Each letter takes a moment to draw, so wait for it before typing the next, or letters are lost. SPACE moves the box one letter to the right, and ENTER starts a new line below. The page starts at the bottom, so for a title at the top press ENTER first: the cursor goes off the bottom and comes back in at the top.
| Key | Does |
|---|---|
| cursor keys | move the box by one letter |
| GRAPH and a cursor key | move the box by one dot |
| ENTER | new line |
| CTRL+Q, CTRL+W | letters 5 dots narrower, wider |
| CTRL+X, CTRL+S | letters 5 dots shorter, taller |
| CTRL+E, CTRL+R, CTRL+Z, CTRL+A | the same, a dot at a time |
| F6 | letter style: solid, hollow, single line |
| F4 | next background colour |
| F5 | next letter colour |
| CTRL+F5 | next colour behind the letters |
| F7 | fill the area under the cursor with the letter colour |
| CTRL+ESC | start the page again |
Solid letters are filled in. Hollow draws the outline of the same thick letter. Single line draws the letter as a thin stroke. The symbol after H in the status line shows which is on.
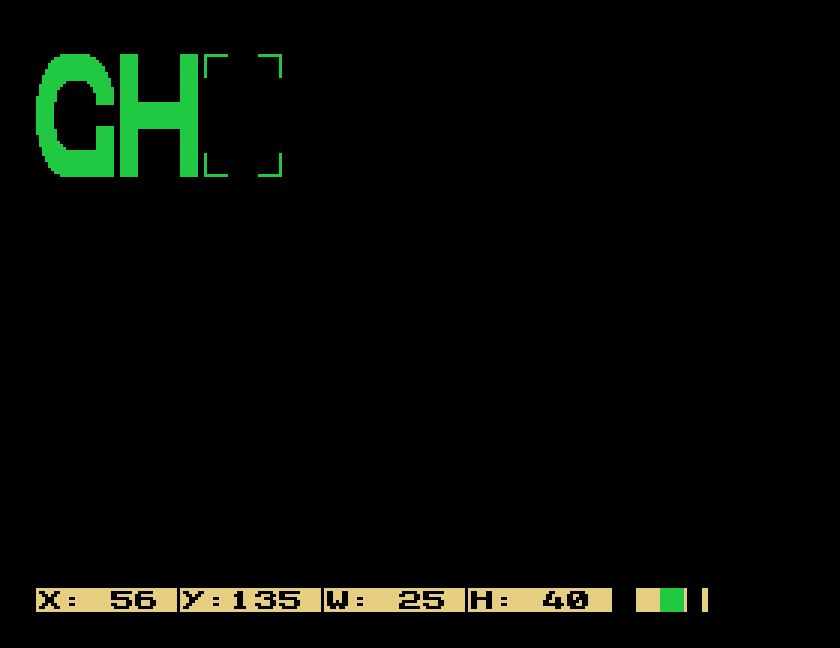
One thing to watch: a solid letter is drawn as an outline and then filled, and at some sizes the outline has a gap, so the fill escapes and floods the page. Our "2" at W: 40 did that. There is no undo, so save a page you are pleased with before you add to it.
Choose 3. Here the cursor is a small cross, and you draw dots, lines and shapes.
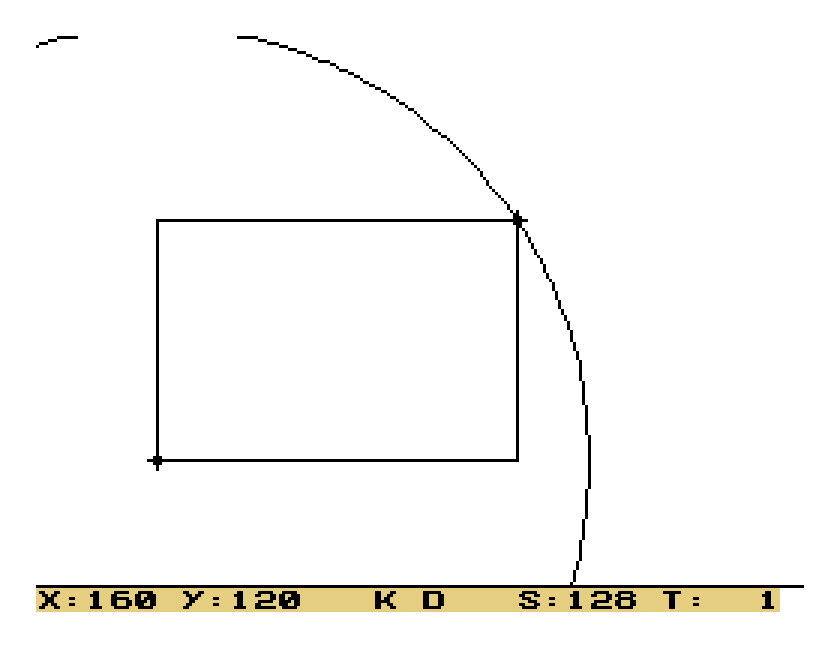
The status line shows the cursor's position, K for keyboard (press J to use a joystick instead), D for draw, and T for the thickness of the line you draw.
Moving and drawing. The cursor keys move one dot at a time; hold a key down to keep going. The [, ], _ and : keys move diagonally. Hold GRAPH while you move, and the cursor draws. Press U to erase instead (the status line shows U), S to spray dots at random, and D to go back to drawing. CTRL+W makes the line thicker, up to 4, and CTRL+Q thinner.
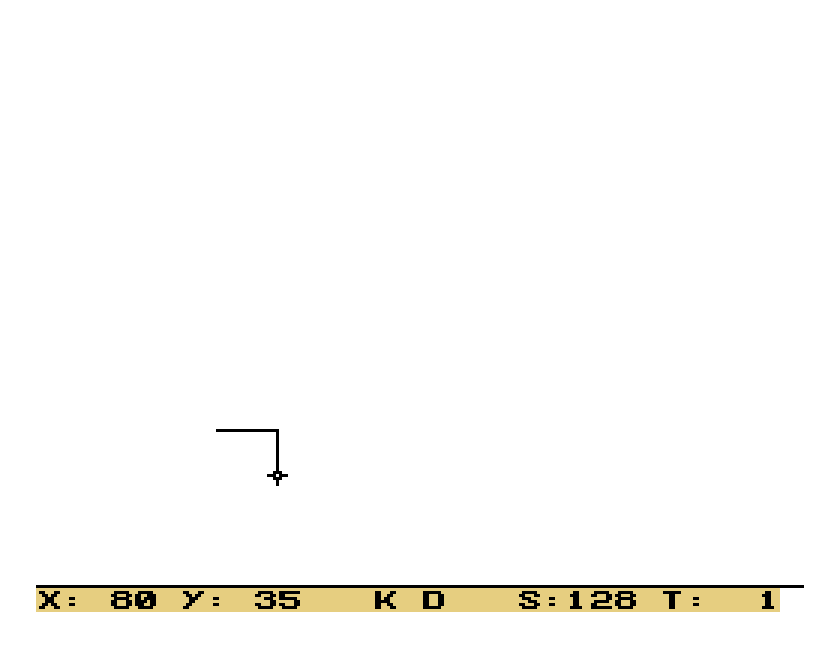
Shapes use a second cross, the marker. Press F6 to put the marker where the cursor is, then move the cursor away:
| Key | Does |
|---|---|
| A | a line from the marker to the cursor |
| Z | the same, and moves the marker to the cursor |
| B | a box with the marker and cursor at opposite corners |
| C | a circle centred on the marker, through the cursor |
| F7 | fill the area the cursor is in |
The shifted function keys work on the rectangle between the marker and the cursor:
| Key | Does |
|---|---|
| SHIFT+F0 | shade it |
| SHIFT+F1 | shade it lightly |
| SHIFT+F2 | clear it |
| SHIFT+F3 | reverse it, black for white |
| SHIFT+F6 | lift it off the page |
| SHIFT+F7 | put the lifted area down at the cursor |
| SHIFT+F4 | shrink: a half-size copy of the whole page, drawn over the bottom left |
| SHIFT+F5 | put the cursor back at the bottom left |
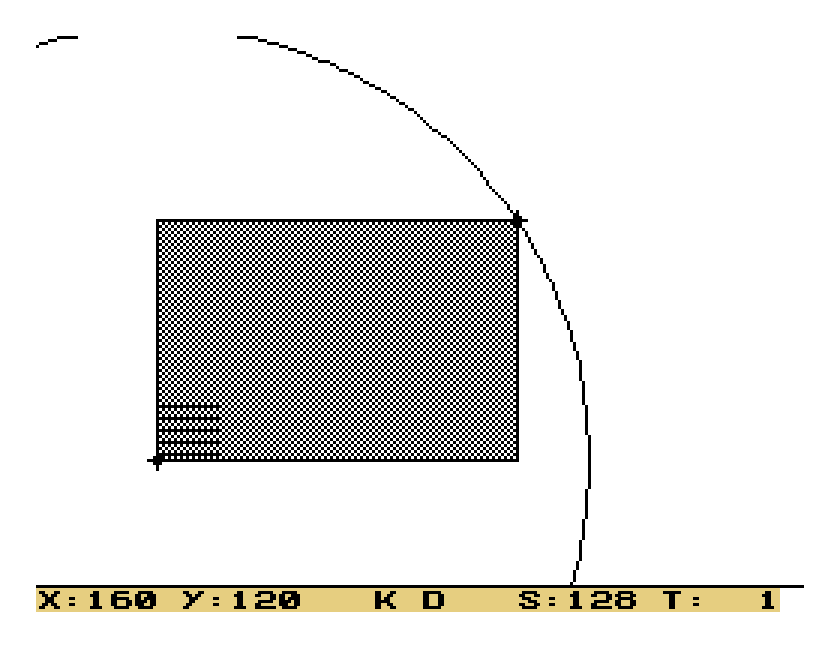
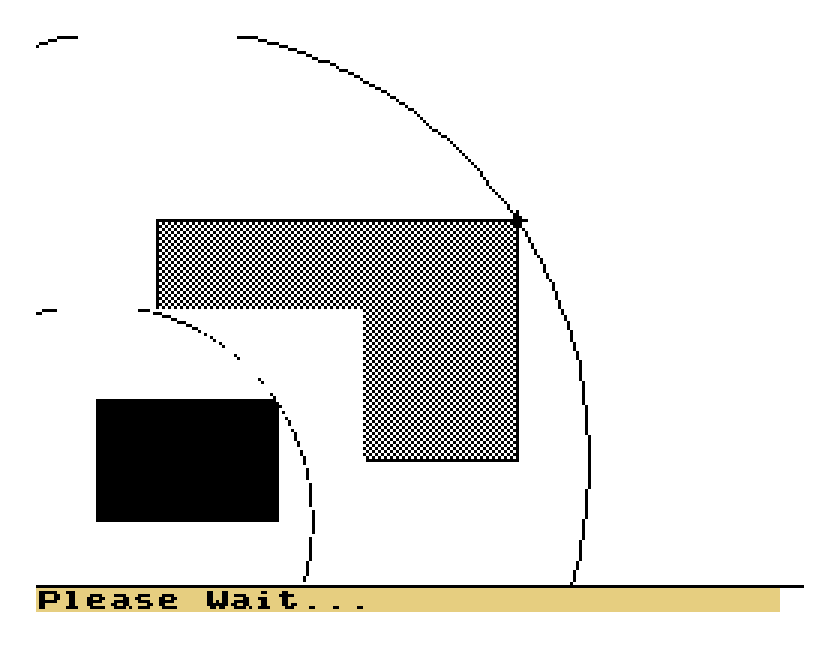
Colours and text. F4 changes the background colour and F5 the drawing colour, through all sixteen in turn. F3 switches to text mode, where you type ordinary small characters: a box cursor shows where, the cursor keys move it, and ESC goes back to drawing. CTRL+F3 gives wider, 32-column text, and CTRL+F5 changes the colour behind the text. The same shifted function keys, colours and text mode work in the text page maker too, where the area they act on is the letter box.
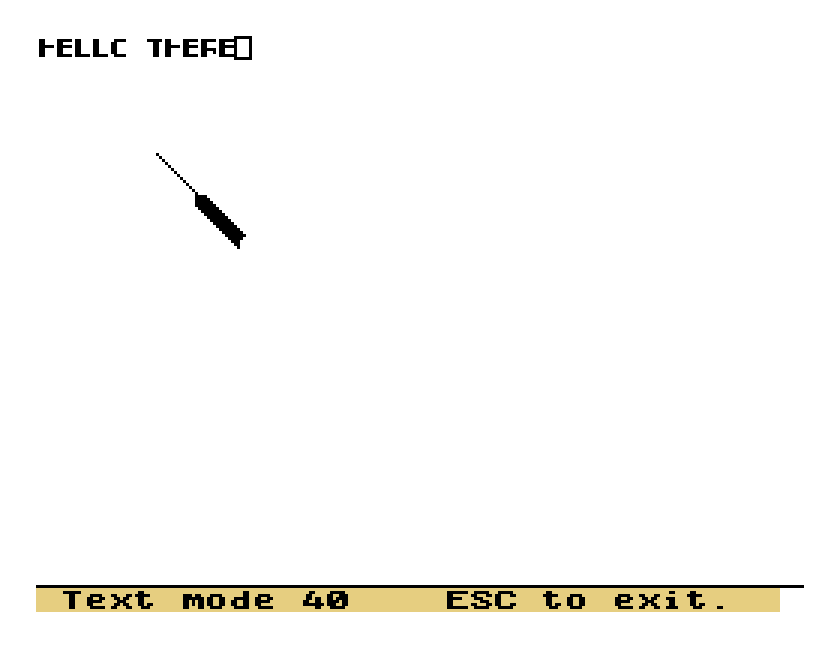
The disc has four character sets for text mode: 32CHR, 40CHR, JAZZCHR and PONTOON. Load one with F1 and its name, and the text takes its shapes.

Press F0 in either page maker. Type a name of up to eight letters and digits, with 1: in front for a disc in drive 1, and press ENTER; ENTER on its own cancels. GrafDraw then says Insert data disc & press a key, so with one drive you swap discs here. The page is saved as the name with .OBJ on the end, and you are back on the page.
CTRL+F0 saves in black and white, which takes half the room. F1 loads a page in the same way.
Choose 4. GrafDraw prints on an Epson-compatible printer. It asks whether to print one, two or four pages together, then the name of each page, the density (single, double or quad), the width and the height, and finally for the data disc.
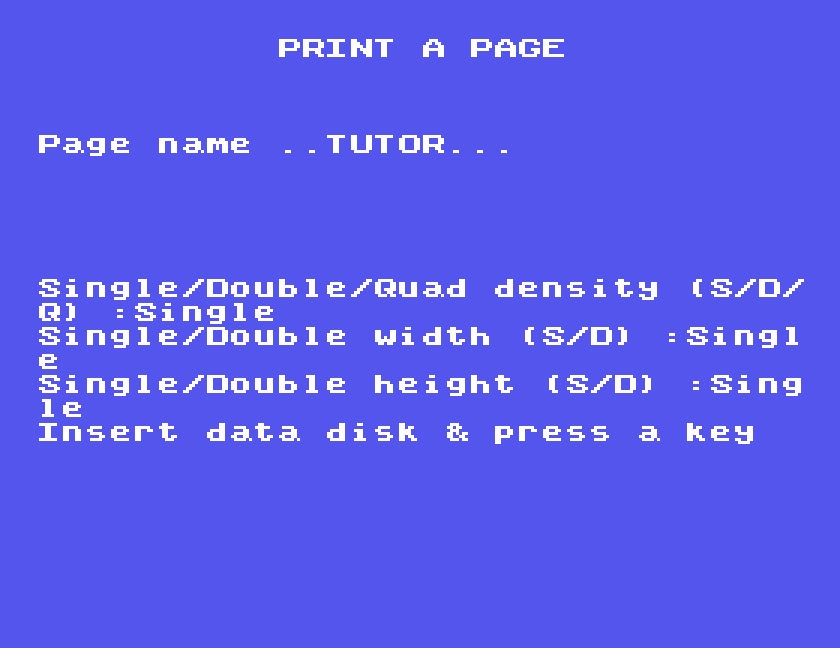
Under MAME, add -centronics printer -prin page.prn to the command, and the printer's output goes to the file. This is the first tutorial page, printed at single density:
Choose 7 for a slideshow of your pages. 2, Edit/Create Demo, asks for a name and shows a table with room for 18 pages. Type a row number, then the page's name, its main colour and flash colour (0 to 15, or 0 for no flashing), how many seconds to show it, and a number from 0 to 6 for how it arrives: 0 puts it straight on the screen, and 1 to 6 bring it on with an effect. Type 0 as the row number to finish, and the demo is saved.
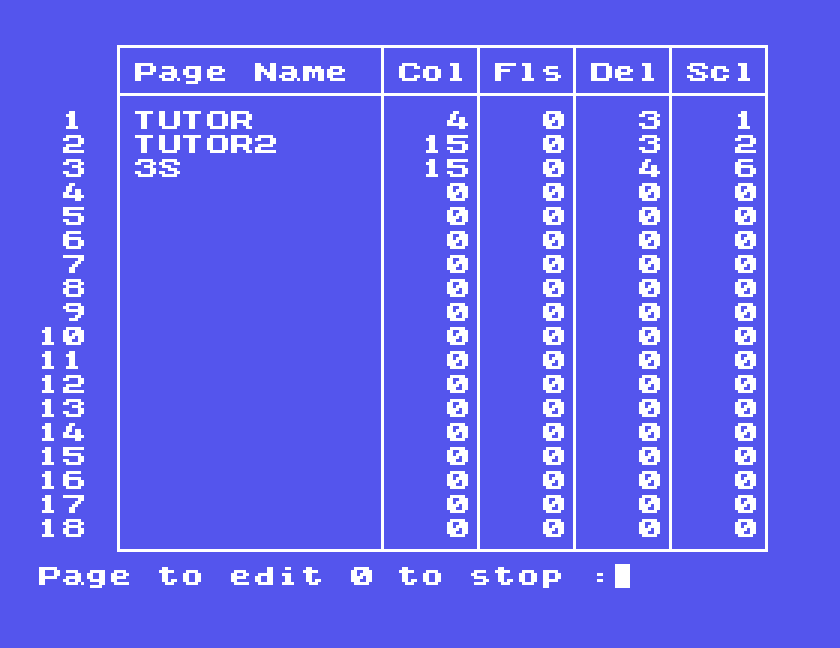
1, Start demo, asks for the name and runs it, round and round. ENTER moves on to the next page, and ESC stops the show, though it may take a few presses to be noticed. We used 1 for the first page, which slid onto the screen, and 6 for the last, which arrived in two halves that met in the middle.

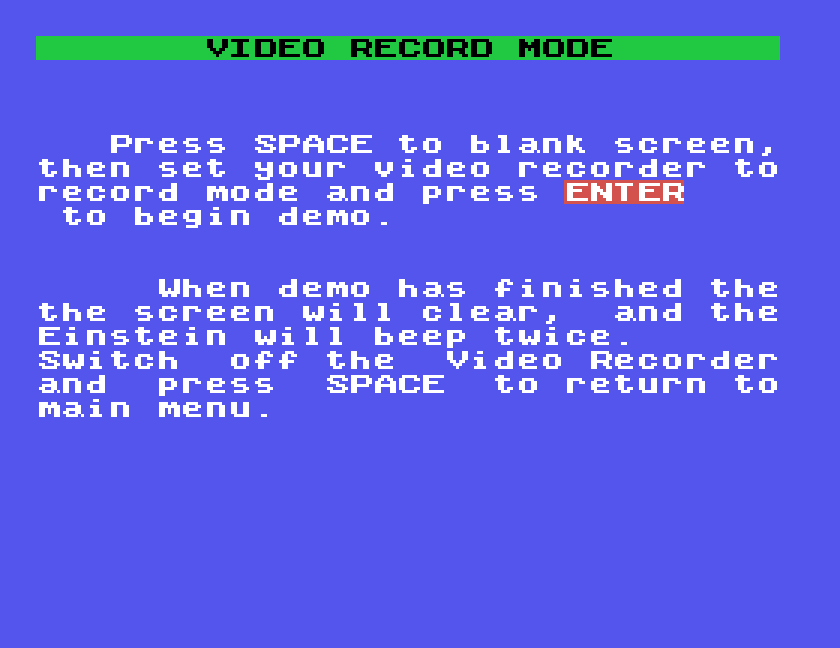
5, Video demo, is the same show with a blank screen before and after, so that you can start and stop a video recorder. It tells you what to press.
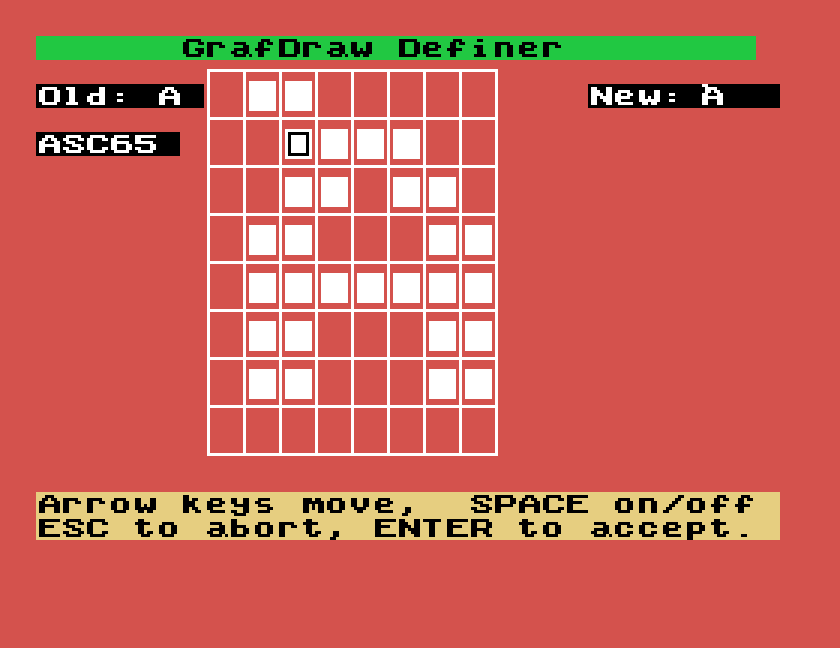
Choose 8 to make your own character set for text mode. Give a set's name, one of the four on the disc or a new one, then press the key you want to change. The character appears in an 8 by 8 grid: the cursor keys move, SPACE turns a square on or off, ENTER keeps the change and ESC abandons it. Answer N to Another character? and the set is saved under its name.
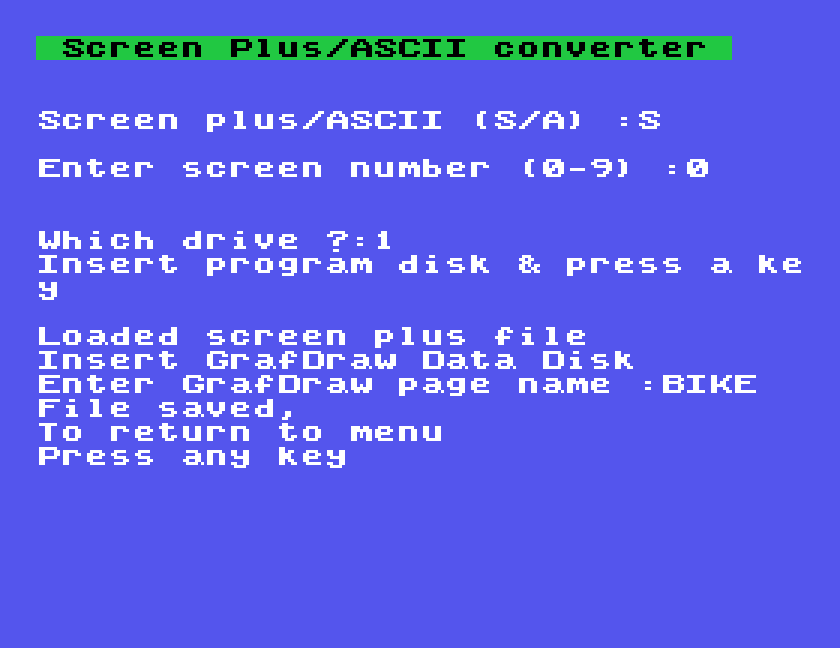
Choose 6, the data converter, and press S to bring in a picture made with Screen Plus. Give the screen number and the drive its disc is in, put the GrafDraw disc back when asked, and give a name for the new page. The converter can also turn a plain text file into pages, with A, which we did not try.

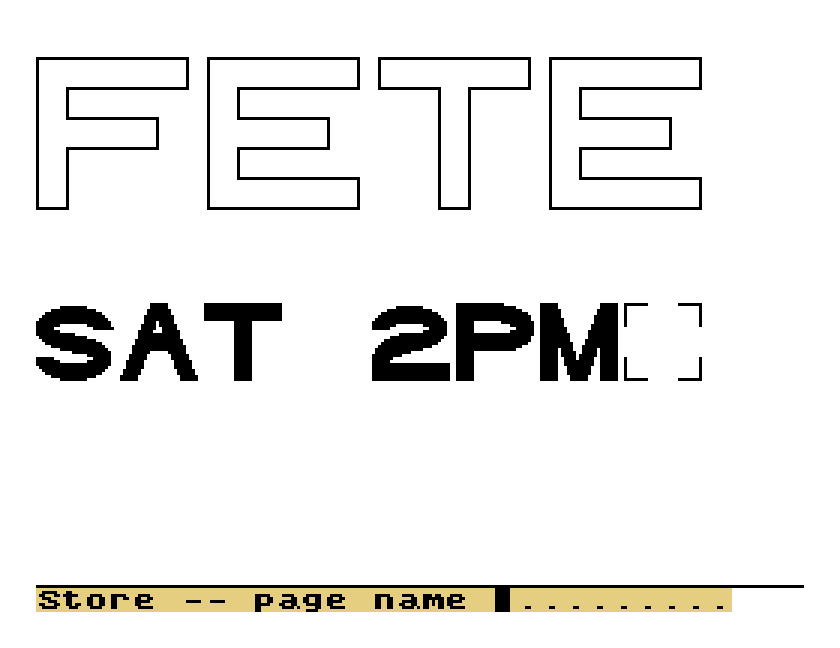
FETE, a letter at a time.SAT 2PM.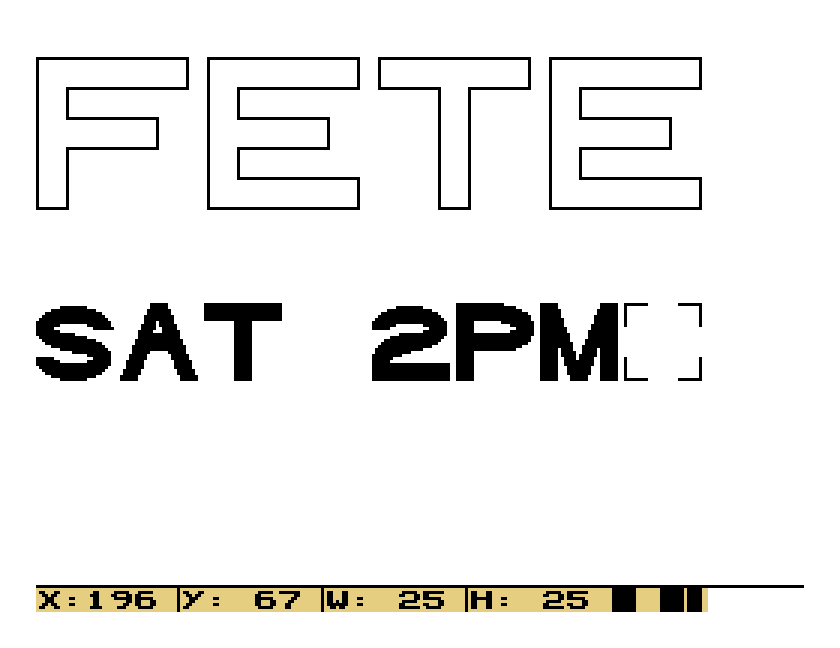
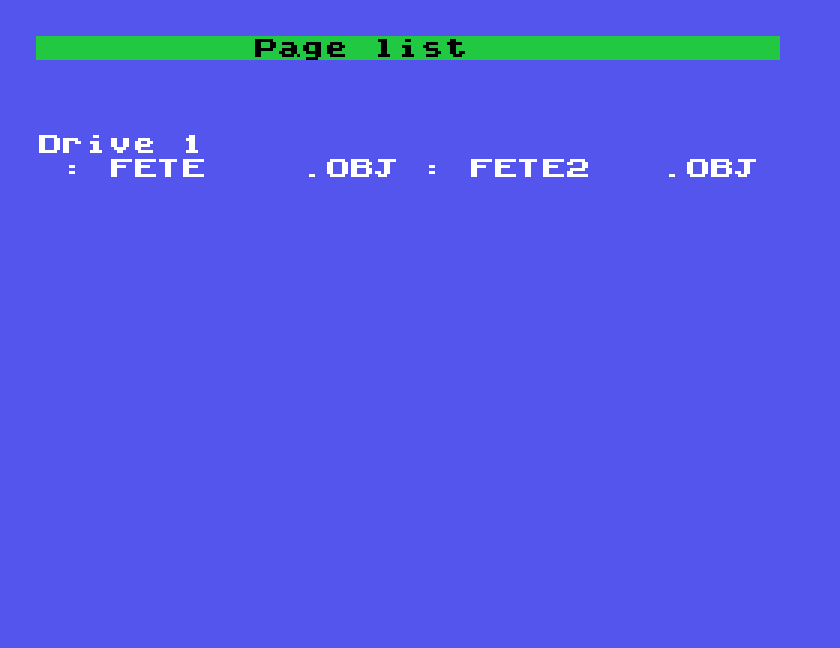
Press F0, type 1:FETE and ENTER, and press a key to save it. Then go back to the menu, choose 1 and list drive 1, and choose 3, the graphic page maker:
1:FETE.1:FETE2.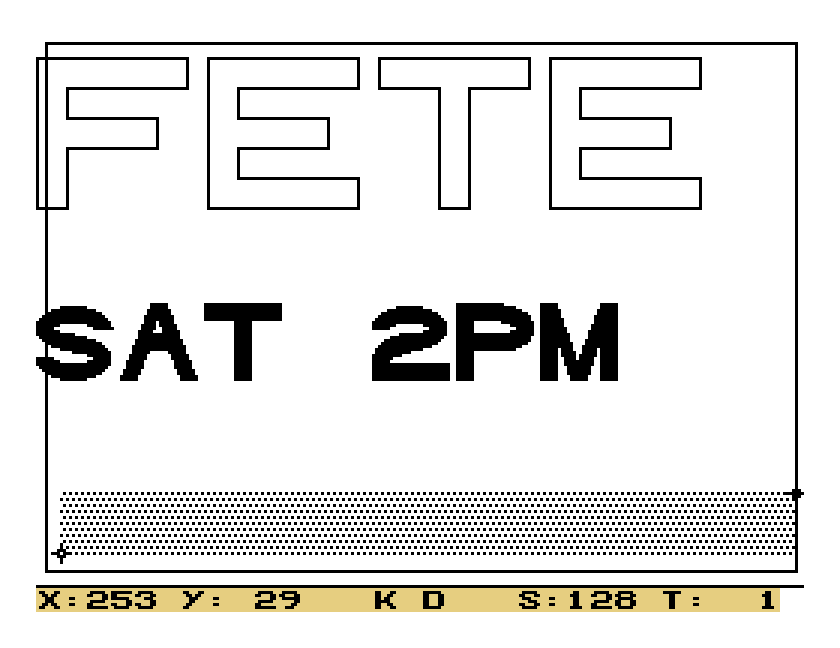
| Where | Key | Does |
|---|---|---|
| Menu | 1 to 8 | the options; SHIFT+BREAK comes back here |
| Both page makers | F0, F1 | save, load (CTRL+F0 saves black and white) |
| F2 | print the page | |
| F3 | text mode; CTRL+F3 for 32 columns | |
| F4, F5 | background, drawing colour | |
| F7 | fill | |
| SHIFT+F0 to F7 | shade, light shade, clear, reverse, shrink, reset, lift, replace | |
| Text page maker | letters | draw them |
| CTRL+Q/W, CTRL+X/S | size | |
| F6 | solid, hollow, single line | |
| Graphic page maker | GRAPH and cursor keys | draw |
| D, U, S | draw, erase, spray | |
| CTRL+Q, CTRL+W | thinner, thicker | |
| F6 | set the marker | |
| A, Z, B, C | line, line and move, box, circle |
If you used GrafDraw on your Einstein, or have the manual for this earlier version, we would like to hear from you. The contact form is at tatungbytes.co.uk/contact.

This form is protected by reCAPTCHA, and the Google Privacy Policy and Terms of Service apply.
