Screen Plus, from Syntaxsoft in 1985, is a picture editor for the Einstein. You draw full-colour screens a pixel at a time, zooming in as close as you like, and save them to disc to use as title screens or backdrops for your own programs. A second program on the disc, GRAPHIC, designs characters and sprites.
This guide shows you round both, using the library's Screen Plus disc in MAME. The original Screen Plus manual covers some corners this guide leaves out.
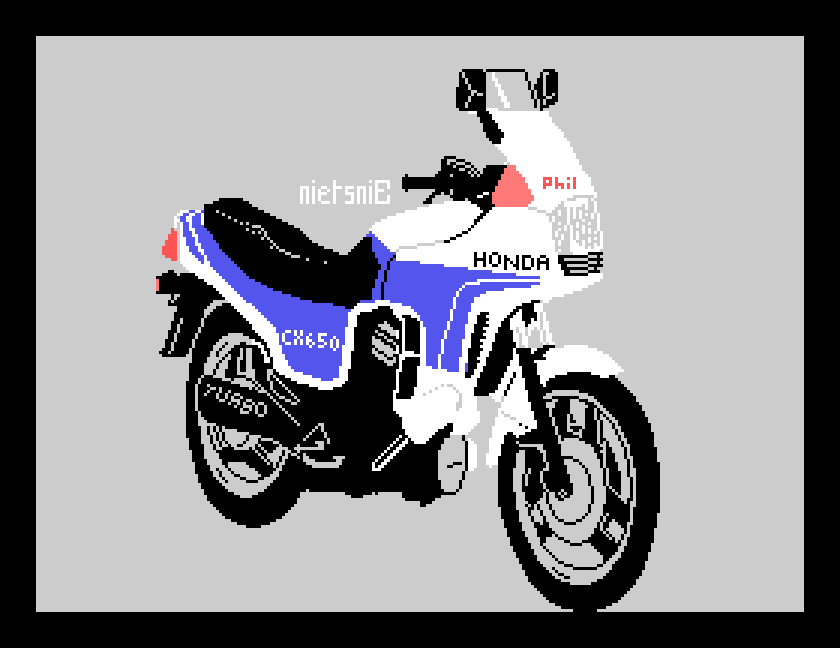
The Screen Plus disc. It starts the Einstein by itself and stops at the 0: prompt. Type DIR to see what is on it: SCREEN and CHARGEN are the two programs, and SC0.MEM to SC9.MEM are pictures.
A joystick. The drawing program, SCREEN, is worked almost entirely with the joystick and its fire button. Under MAME, the Einstein's joystick is played by default with the number keypad (4, 6, 8 and 2) or the mouse, with Left Ctrl as fire. If your keyboard has no keypad, or you have a gamepad, change this in MAME's Input menu: press Tab while MAME is running.
Set up the Einstein as in Setting Up MAME.
A second disc for your own pictures. The Screen Plus disc is all but full. Each picture takes 13K, and all ten picture numbers are already used.
Type SCREEN and press ENTER. After a few seconds the menu appears:
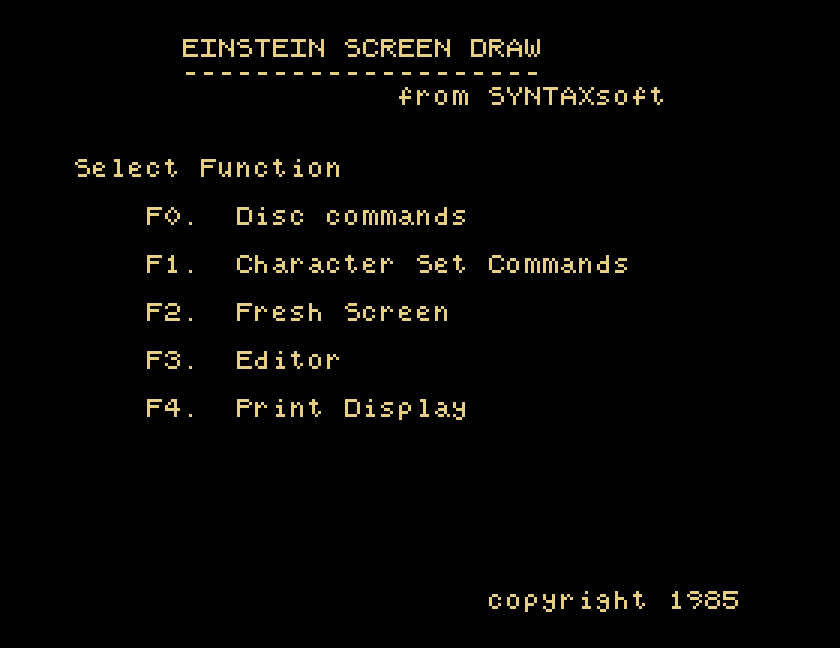
| Key | Does |
|---|---|
| F0 | disc commands: load, save and look at pictures |
| F1 | character set commands |
| F2 | fresh screen: start a new picture |
| F3 | editor: back to the picture you are working on |
| F4 | print the picture on a printer |
Press F0, then P to peek at a picture, then its number, 0 to 9. Screen Plus asks you to confirm:
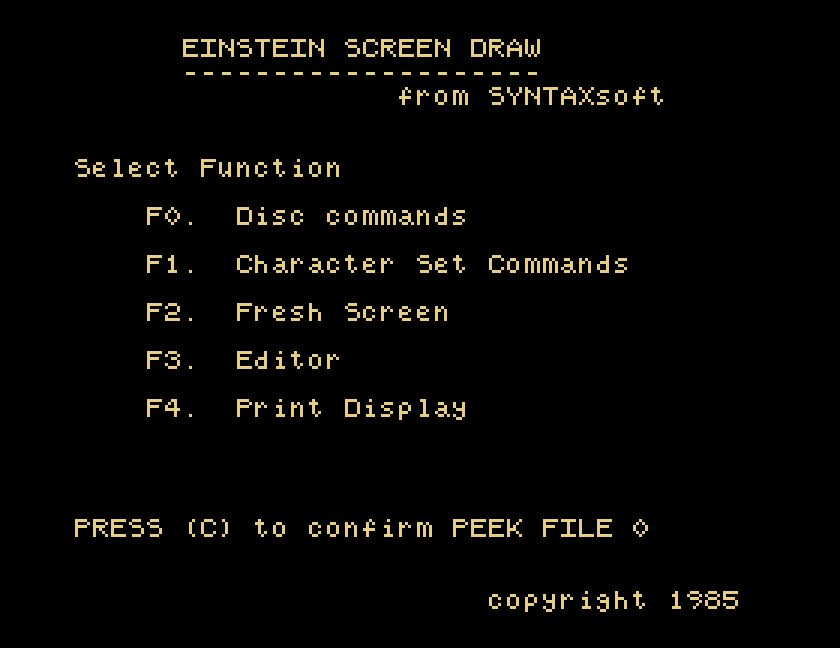
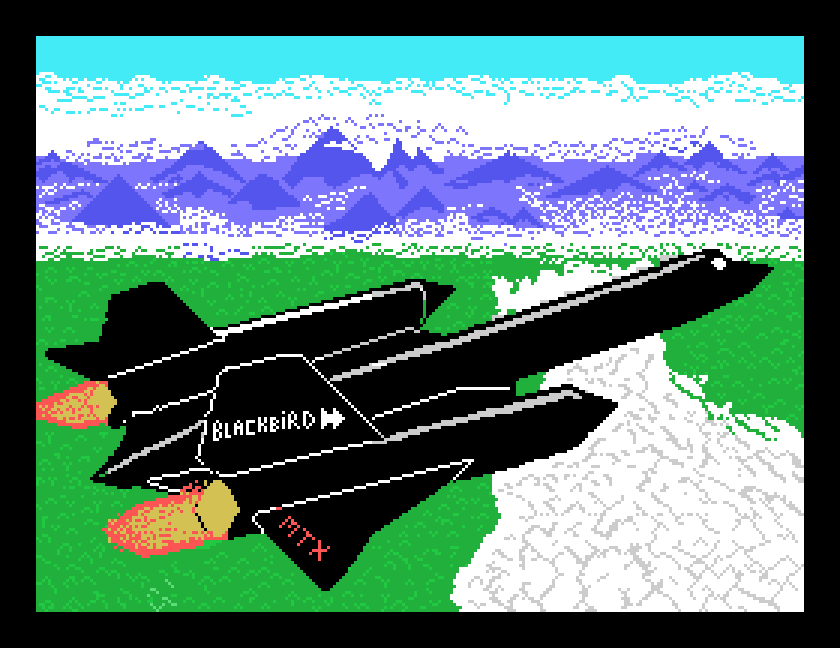
Press C. The picture fills the screen. Press SPACE to go back to the menu.
To work on one of the pictures, press F0, L, its number and C to load it. Screen Plus loads it and takes you straight into the editor.
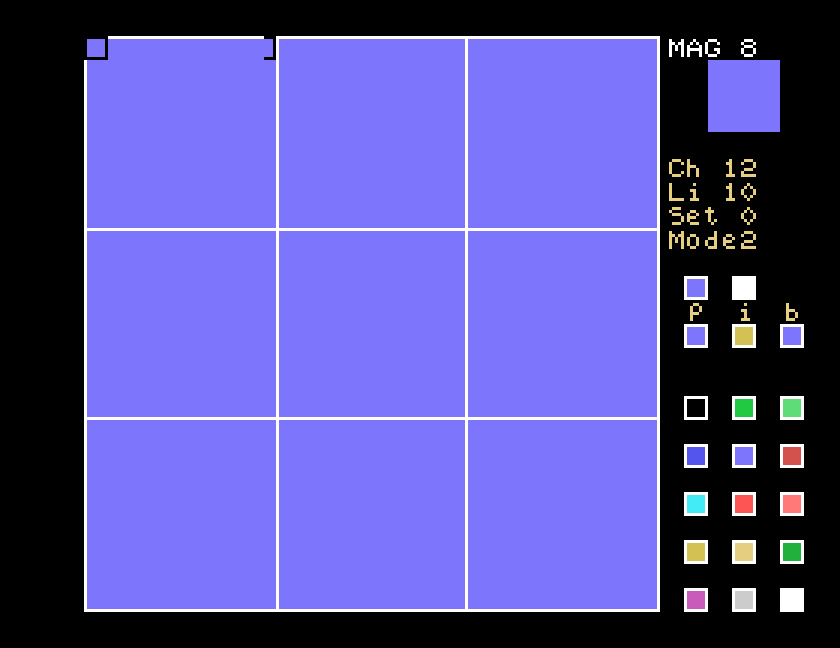
The editor shows your picture at one of four sizes, from MAG 1, actual size, up to MAG 8, where every pixel is a big square. Most of the work is done with double moves: hold the fire button down, push the joystick one way, let the joystick go, then let go of fire.
Hold each double move for a moment: a quick flick may not register.
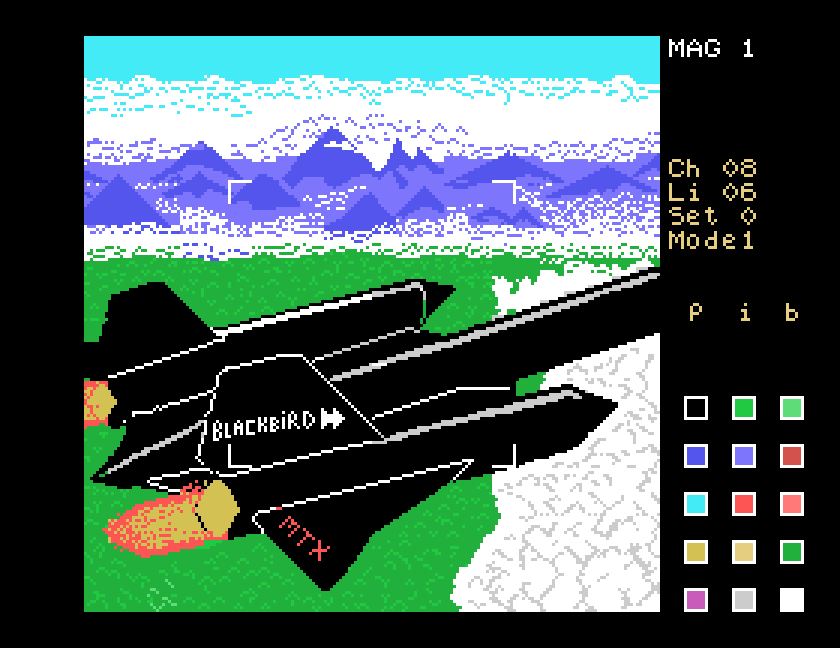
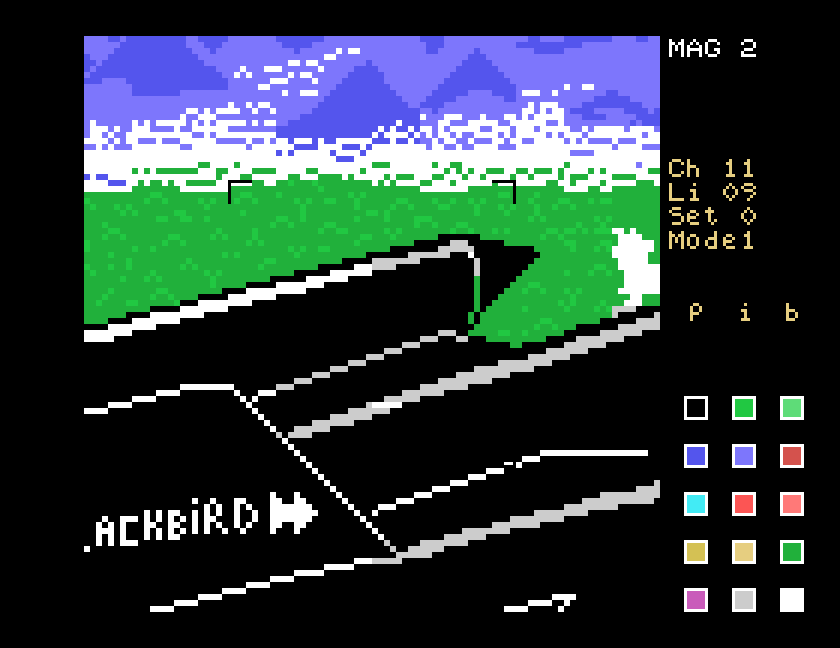
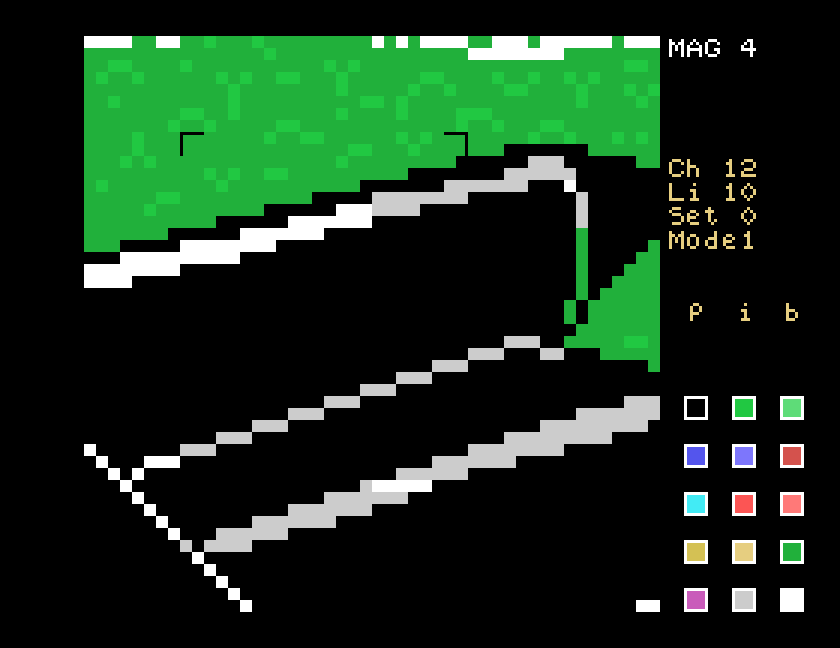
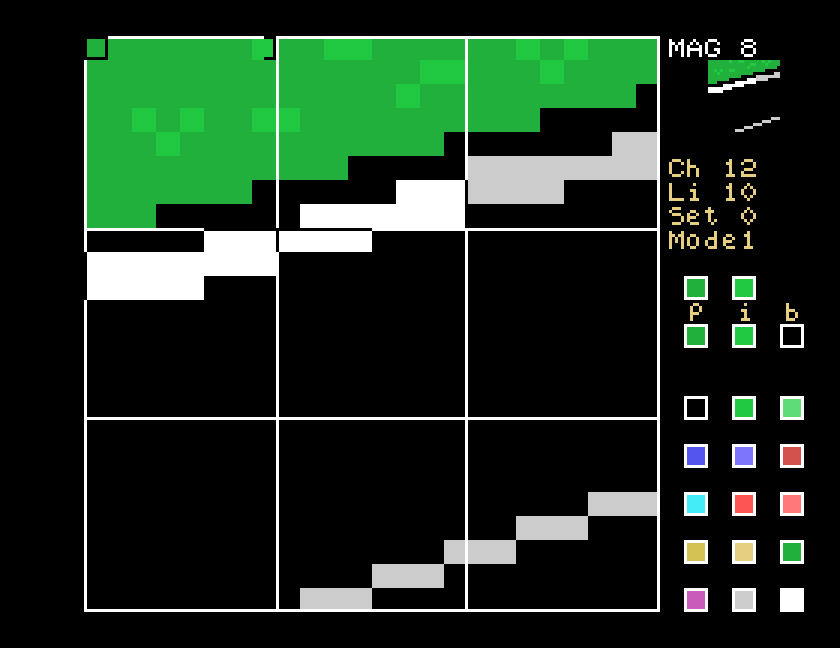
The panel on the right shows where the cursor is: Ch is the column and Li the line, counted in character squares. Under them are the character set in use and the mode.
At MAG 8, the edit screen shows three by three character squares, each eight pixels by eight. Move the cursor with the joystick and press fire to turn the pixel under it on. Press fire again to turn it off.
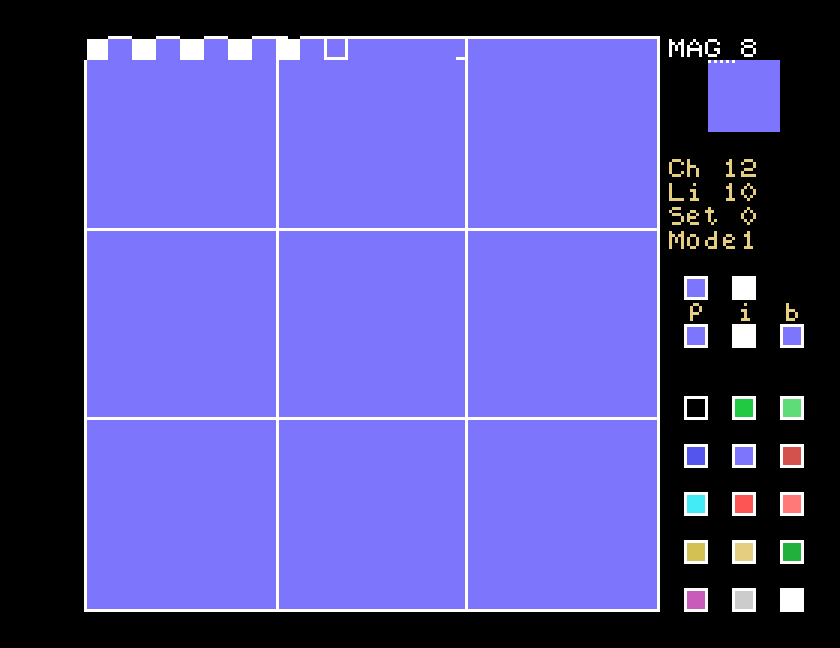
What you draw shows at every zoom level. Use fire and down to step back out and see it at actual size.
Every part of the picture has a paper colour, for the pixels that are off, and an ink colour, for the pixels that are on. At MAG 8, the two squares above p i b show the paper and ink of the row under the cursor, and the three below show the colours you have chosen to draw with: paper, ink and border.
To choose a colour, use fire and right. The cursor moves into the palette of fifteen colours, and the mode changes to Mode 2, in which drawing puts your chosen colours on the screen as well as the pixels. Move to the colour you want and press fire. Then push the joystick:
The manual has more on Mode 2, on putting letters and numbers on the picture with fire and left, and on the colour change screen, which swaps one colour for another across the whole picture.
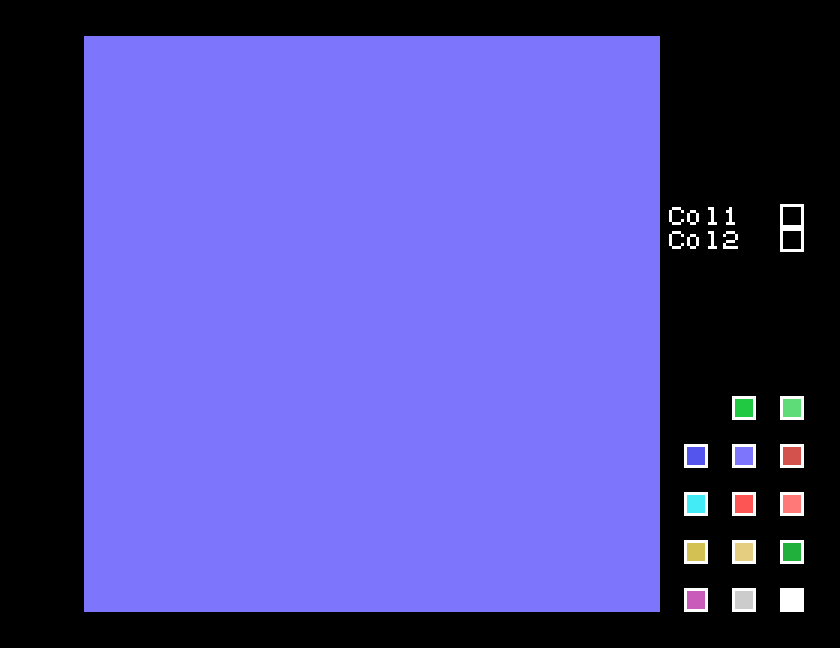
Press F2 at the menu and then F to confirm. Screen Plus clears the picture to blue and goes to the colour change screen, with the palette on the right. Use fire and up to go on to MAG 1 and start drawing.
Use fire and down to step back to the menu, then press F0, S, a number from 0 to 9, and C. Screen Plus saves the picture as SC0.MEM to SC9.MEM and goes back to the editor.
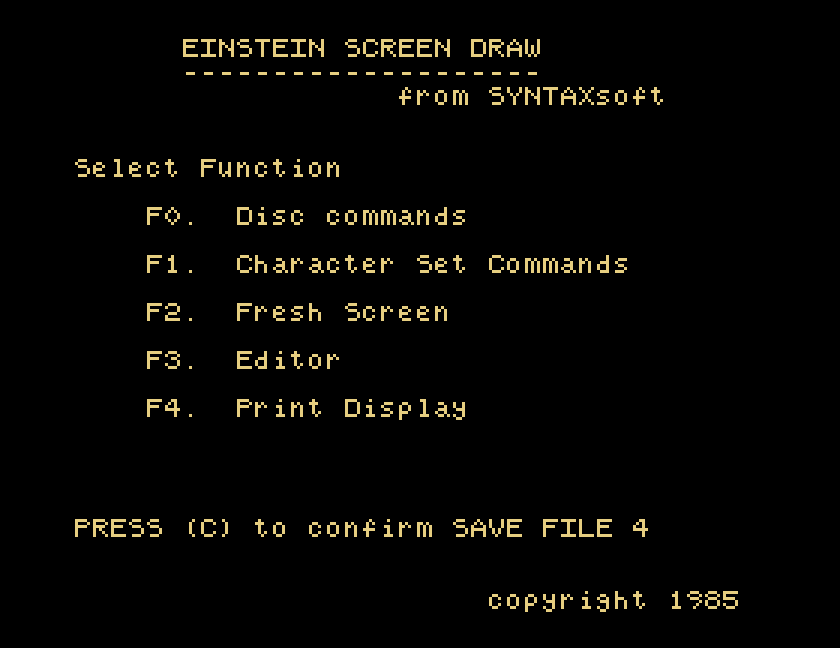
The Screen Plus disc has no room for more pictures, so before you save, put a formatted disc of your own in the drive (in MAME, through the File Manager in the Tab menu), and save to that. To check that it worked, peek at the number you saved.
GRAPHIC is the second program, and on this disc it is called CHARGEN. It designs your own characters and sprites, which SCREEN can use as character sets and your own programs can load. Unlike SCREEN, it works from the keyboard, and the menu shows Keyboard mode selected. At the 0: prompt, type CHARGEN and press ENTER.
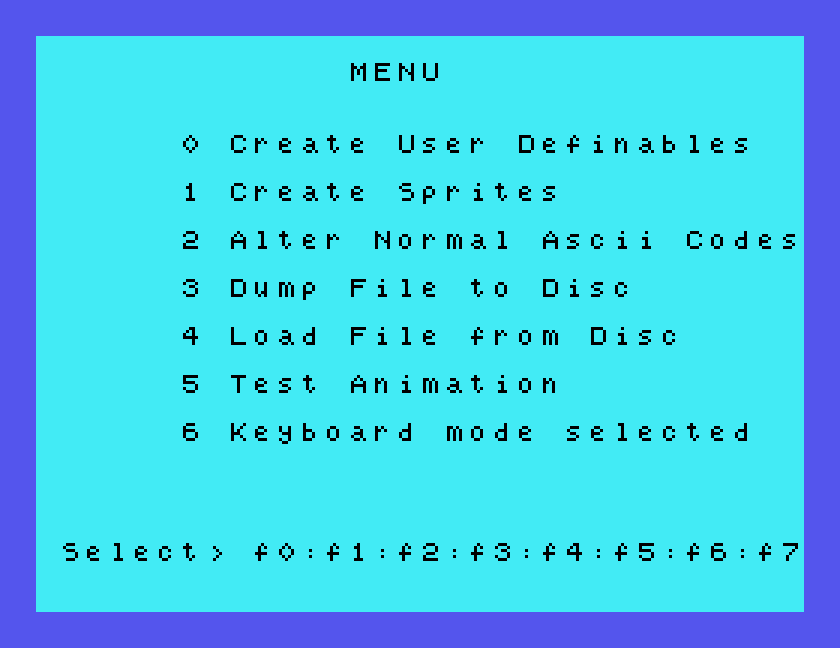
| Key | Does |
|---|---|
| F0 | design your own characters, codes 128 to 154 |
| F1 | design sprites |
| F2 | redesign the Einstein's ordinary letters and symbols |
| F3 | save the characters to disc |
| F4 | load characters from disc |
| F5 | test an animation |
Press F0. A row of twelve characters appears along the top of the screen, as solid blocks until you design them, with an arrow under the first. The manual says to move the arrow with S and D. Press E and X to see the next and previous twelve characters.
Press SPACE to bring the character above the arrow down into the big grid in the middle. Now move round the grid with E (up), X (down), S (left) and D (right), and press SPACE to switch the pixel under the cursor on or off.
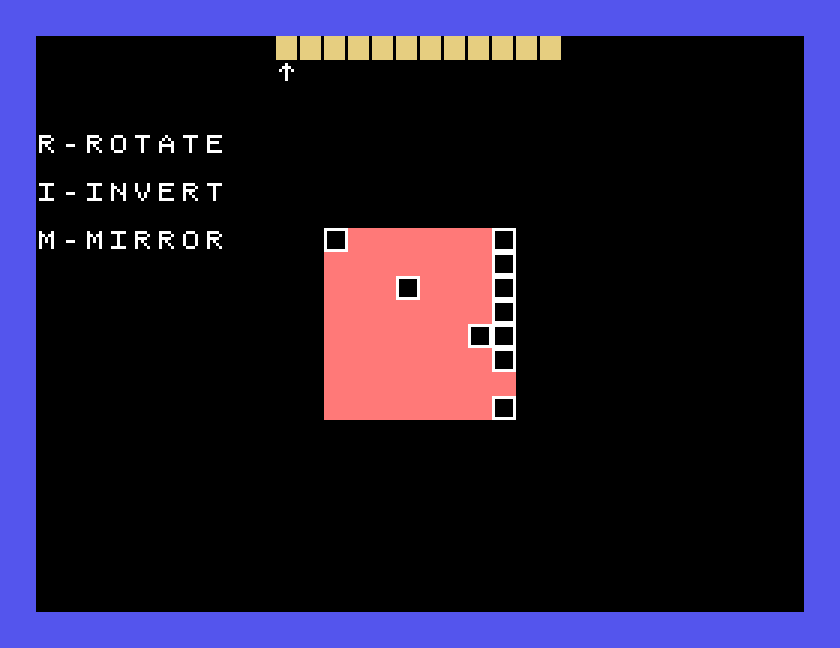
Three keys change the whole character at once:
| Key | Does |
|---|---|
| R | rotates it a quarter turn |
| M | mirrors it top to bottom |
| I | inverts it, switching every pixel |
Press ENTER to keep the design. It goes back into its place in the row along the top. ESC takes you back to the menu.
F3 asks for a Character set number? Type a number from 0 to 9 and press ENTER, and GRAPHIC saves your characters as DATA and the number, such as DATA5.GRF. F4, the manual says, loads a set back in the same way.
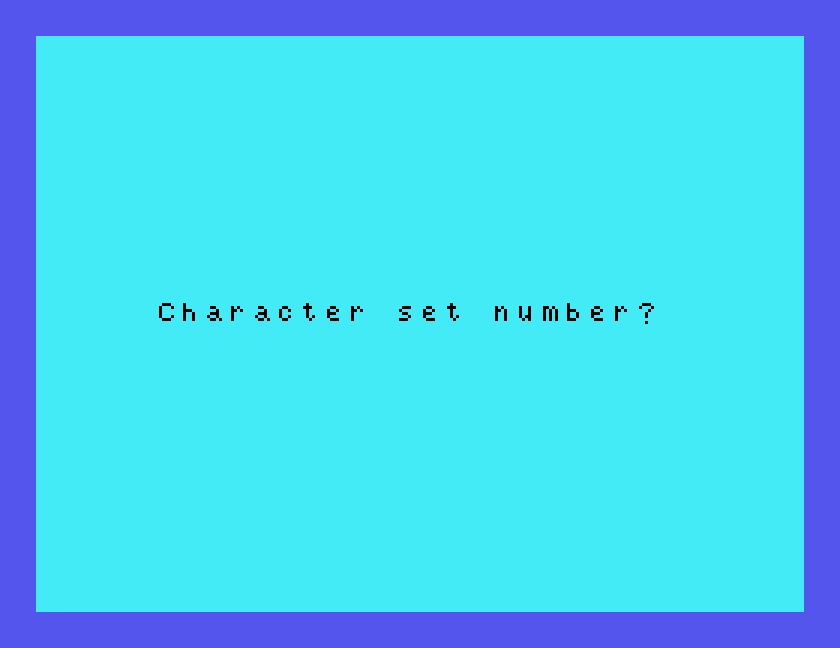
F5 builds an animation from your characters. It asks How many patterns in sequence?, and then, as the manual describes, how many characters wide and deep each pattern is, and which characters go in each. It then plays the patterns in turn: E speeds it up, X slows it down, and SPACE goes back to the menu.
| Where | Key or move | Does |
|---|---|---|
| SCREEN menu | F0, then P, number, C | peek at a picture |
| F0, then L, number, C | load a picture | |
| F0, then S, number, C | save the picture | |
| F2, then F | fresh screen | |
| F3 | editor | |
| Editor | joystick | move the cursor |
| fire and up | zoom in | |
| fire and down | zoom out, then colour change screen, then menu | |
| MAG 8 | fire | pixel on or off |
| fire and right | into the palette | |
| Palette | fire, then up or right | set ink or border |
| GRAPHIC | F0 | design characters |
| E, X, S, D | move | |
| SPACE | pick up a character, or switch a pixel | |
| R, M, I | rotate, mirror, invert | |
| ENTER | keep the design | |
| ESC | menu |
If you used Screen Plus on the Einstein back in the day, we would like to hear from you, especially if you remember how to get from the palette back to the drawing grid. The contact form is at tatungbytes.co.uk/contact.

This form is protected by reCAPTCHA, and the Google Privacy Policy and Terms of Service apply.
