Eazidraw is not a painting program. When it starts, it calls itself EAZIBOARD, a printed circuit board designer, by Bob Draper, from 1988. You lay out a circuit board on the Einstein's screen: chip footprints, pads, copper tracks and component labels, on two sides of the board. Then you print it out, ready to be turned into a real board.
This guide takes you round it, from a blank board to a printout, using the demo board that comes on the disc. Everything in it was done in MAME with the Eazidraw disc in our library. No manual has turned up, but Eazidraw has two help screens that list every command, and this guide says which of those we tried.
The Eazidraw disc. It boots to the DOS 0: prompt, and holds two files: EAZIDRAW.COM, the program, and DEMO.PCB, a finished board to look at.
Under MAME, set up the Einstein as in Setting Up MAME, and use an .mfi disc image, which MAME can save to; DSK, MFI and SCP explains how to convert the .dsk. To print, give MAME a printer that writes to a file, as described under Printing:
mame einstein -window -flop1 eazidraw.mfi -centronics printer -prin board.prn
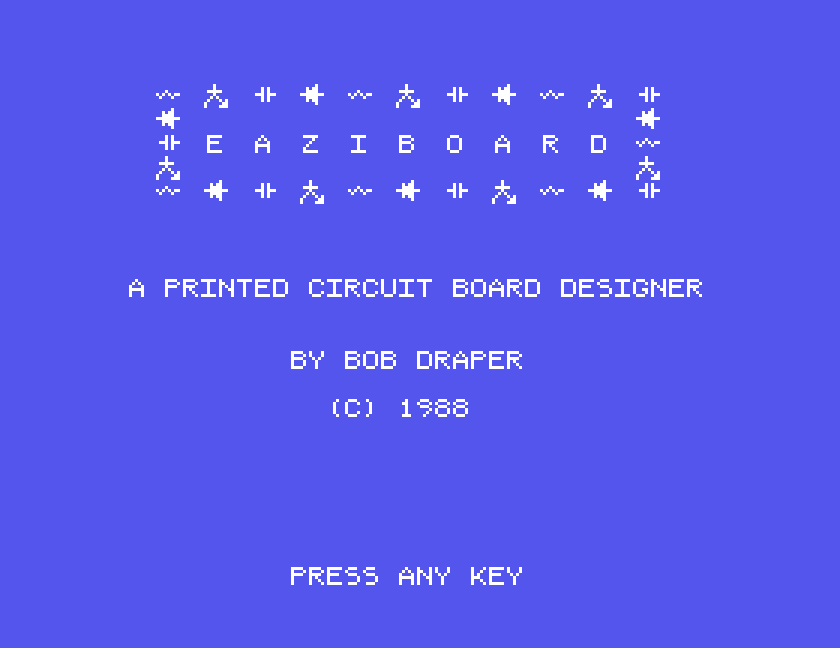
At the 0: prompt type EAZIDRAW and press ENTER. The title takes a few seconds to draw itself:
Press any key and you have an empty board: a black screen with a small green cursor in the top left corner and a status row along the bottom.
SHIFT-H shows help, and SHIFT-H again shows the other of its two pages. Any other key goes back to your board. Between them, the two pages list every command:
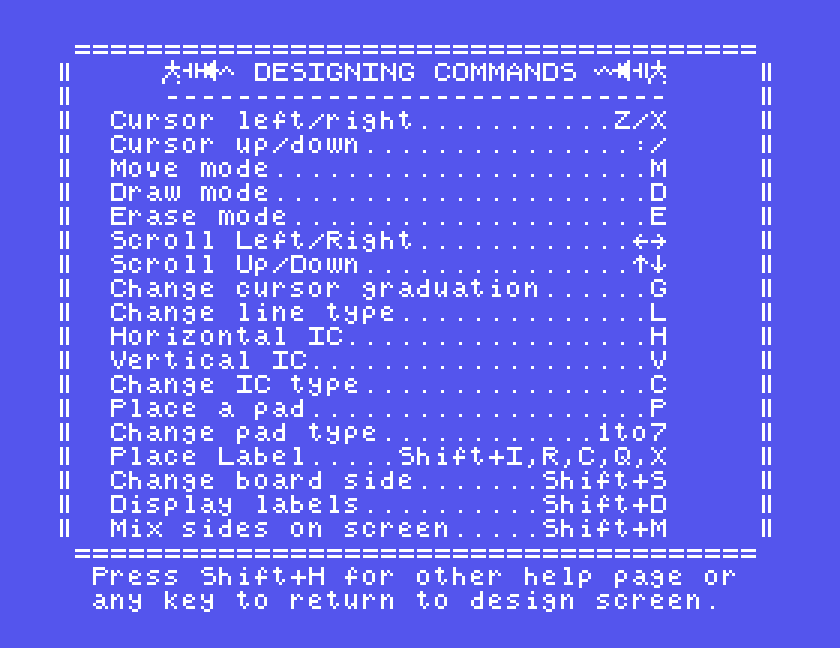
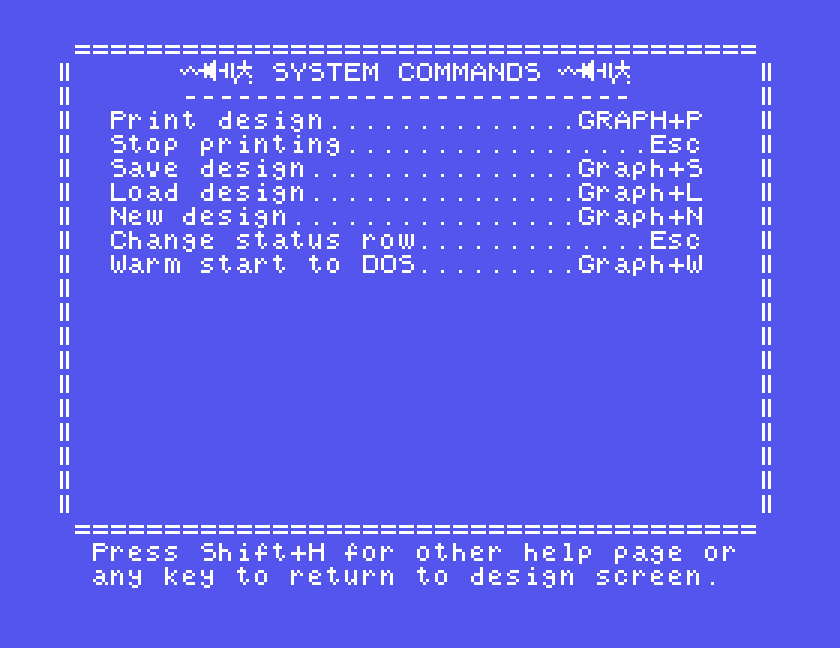
We left ALPHA LOCK on, as it is when the Einstein starts, and typed every command in this guide that way. H on its own, without SHIFT, does nothing.
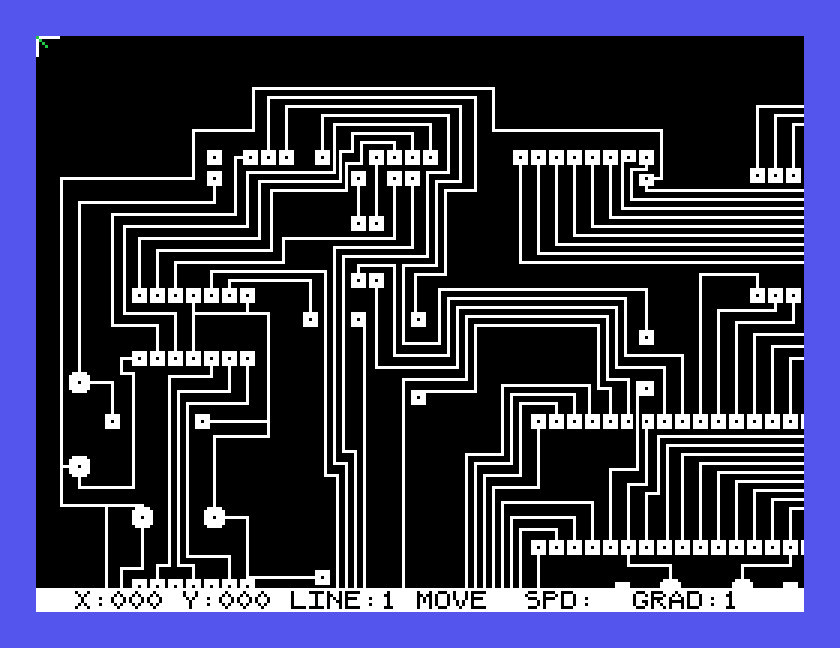
The bar along the bottom tells you where you are and what you are doing:
ESC swaps it for a second row, showing which SIDE of the board you are working on, how many PINS the next chip will have, its OFFSET, and the PAD type. ESC again swaps back.
The cursor moves with four keys:
| Key | Moves |
|---|---|
| Z | left |
| X | right |
| : | up |
| / | down |
In MOVE mode, which M selects, the cursor moves without leaving a mark. Press D for DRAW mode, and it lays copper as it goes. Draw right with X, then down with /, and you have a track with a corner in it:
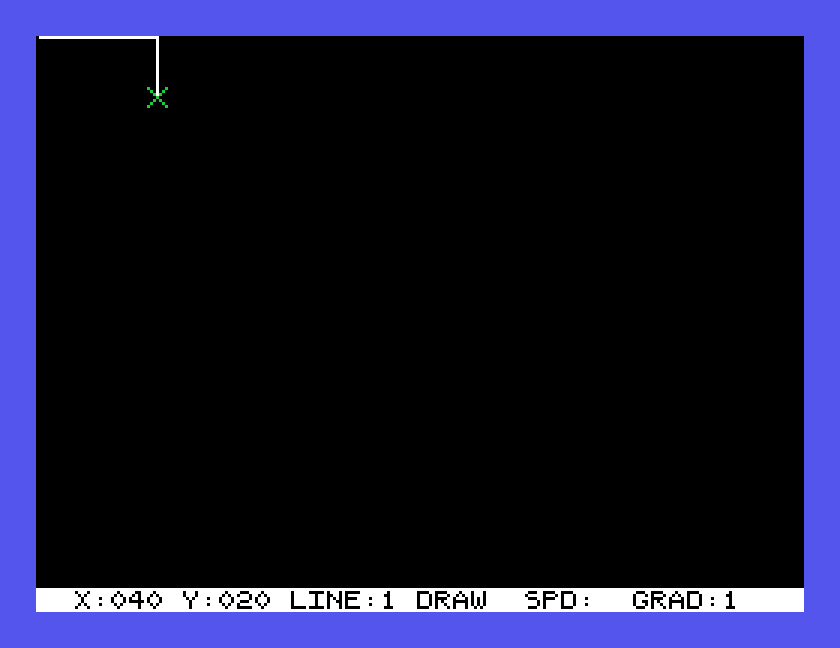
L changes the line type, the width of the track. LINE 1 is the thinnest, and each press of L makes the next track you draw heavier.
E is ERASE mode: the cursor rubs out whatever it passes over. Press M when you have finished, or the next move will rub out something else.
H puts down a chip footprint lying across the board, at the cursor, and V puts one standing upright. A new board starts with 8-pin chips. C changes that: it asks ENTER NO OF PINS:, and after 14 every H or V put down a 14-pin chip, two rows of seven pads.
P puts down a single pad at the cursor. The keys 1 to 7 choose the pad type first: seven different shapes and sizes, from small squares to large rounds.
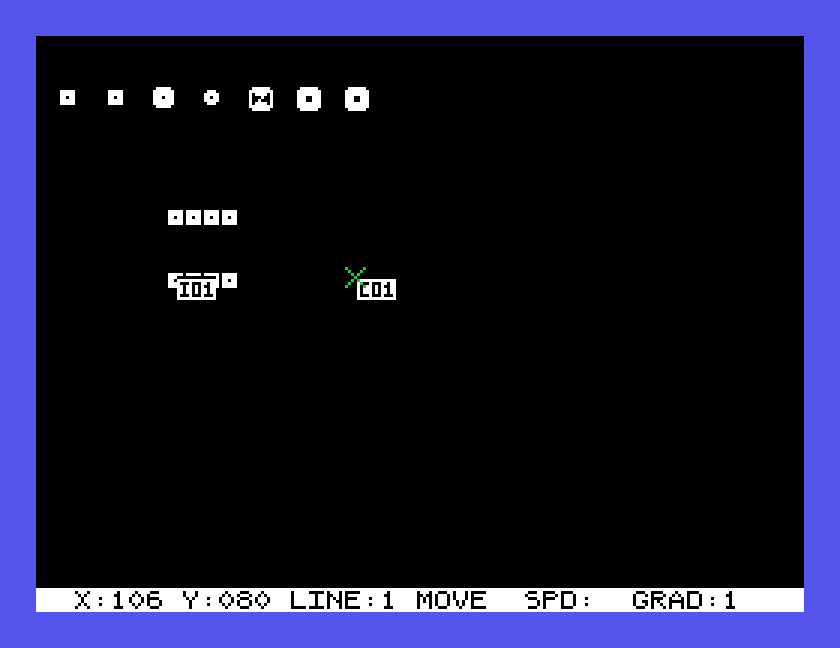
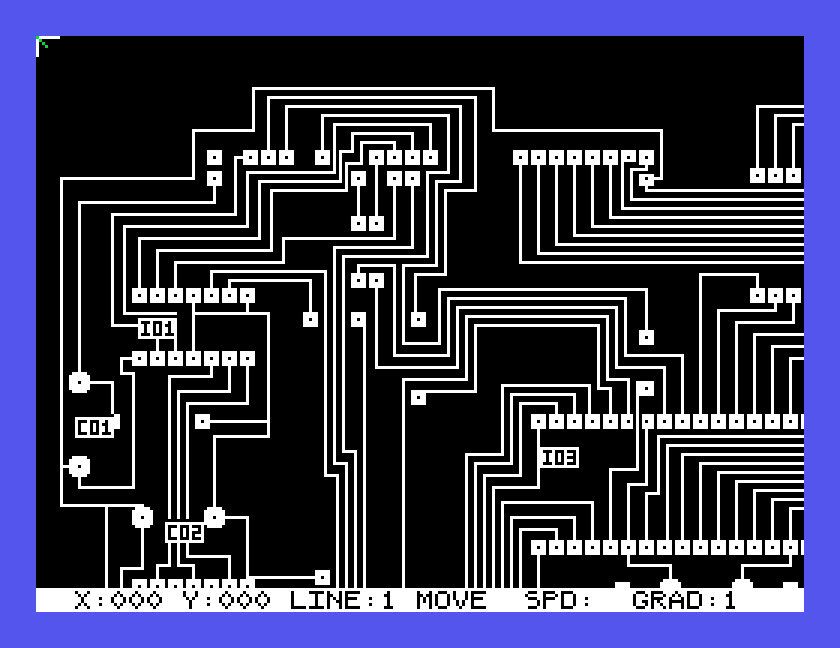
Labels name the parts. SHIFT with I, R, C, Q or X asks Enter Component with that letter already filled in; type the number and press ENTER. SHIFT-I and 1 made the label I01, and SHIFT-C and 1 made C01. The help lists those five letters; we tried I and C. SHIFT-D shows the labels on the board. The demo board has them too:
A circuit board has copper on both sides, and Eazidraw keeps them apart. SHIFT-S swaps between side A and side B: the other side vanishes from the screen, and what you draw now goes on the side you are on. The second status row shows which side that is. SHIFT-M mixes the two sides on the screen, to see how they line up.
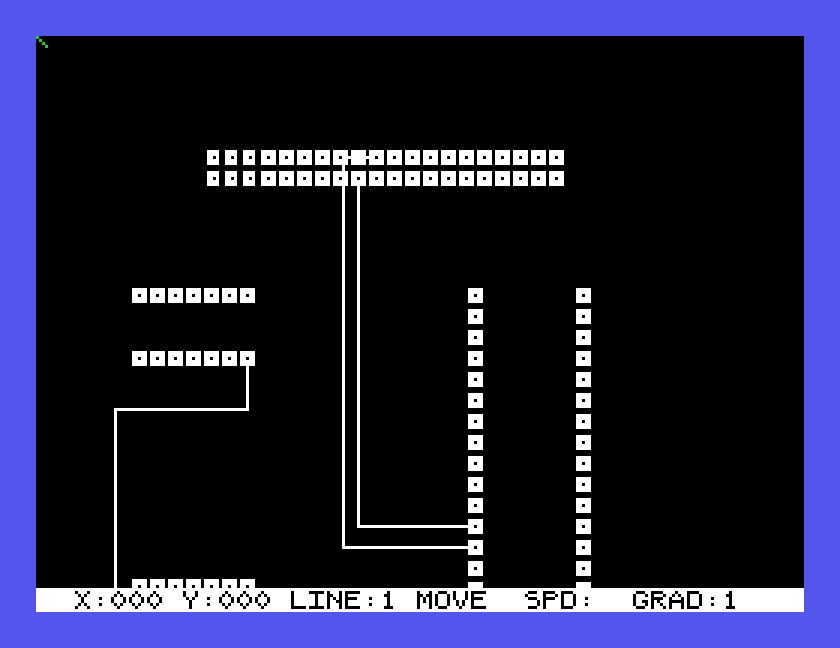
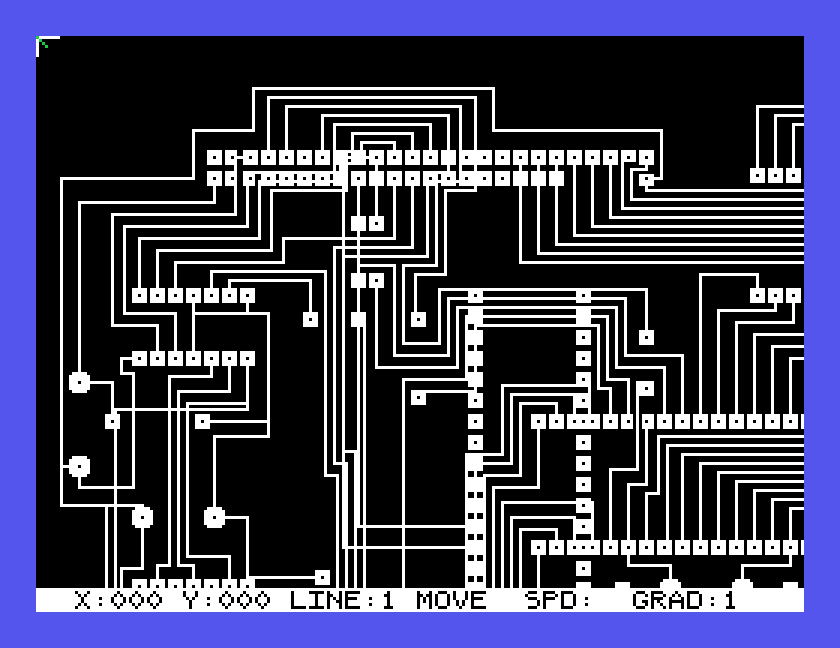
The board is larger than the screen, as the demo shows: it runs off the right-hand edge and the bottom. The Einstein's two grey cursor keys scroll the view. The horizontal one scrolls right, and with SHIFT back left. The vertical one scrolls down. In MAME they are your Tab key and your Down arrow, with Shift as before. The X and Y in the status row move on eight at a time as you scroll.
Scrolling redraws the whole screen and takes a moment. Press the key once and wait for the screen to settle: when we pressed them quickly one after another, some presses were lost. The help also lists scrolling up; SHIFT with the vertical key did not scroll back up for us.
GRAPH-S saves. It asks To Save Enter File Name>:
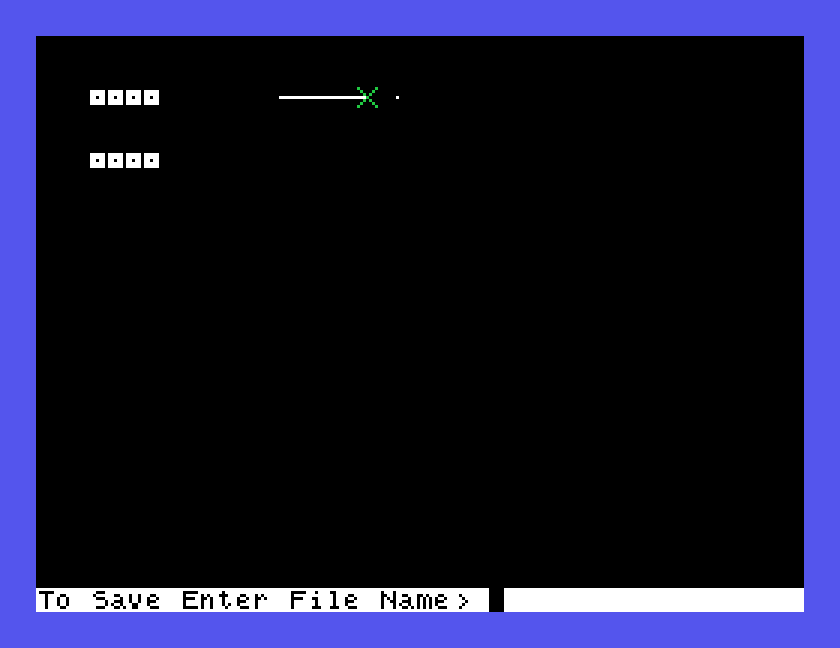
Type a name with the .PCB ending, such as BOARD.PCB, and press ENTER. GRAPH-L loads, and it needs the ending too: DEMO gave No File Re-enter Name ? Y/N, and DEMO.PCB loaded the demo.
GRAPH-N starts a new, empty board. It does not ask first, so save before you press it.
GRAPH-W leaves Eazidraw for the DOS 0: prompt, where DIR shows your board beside the program. DOS came back in black on white rather than its usual colours.
GRAPH-P prints the whole board, not just the part on the screen. It takes a while: the demo took over half a minute in MAME. The help says ESC stops a printout.
Eazidraw prints in Epson dot graphics. It goes over each strip of the board three times, a fraction of a line lower each time, so that the tracks come out solid. In MAME, with the virtual printer attached, the demo board came out like this:
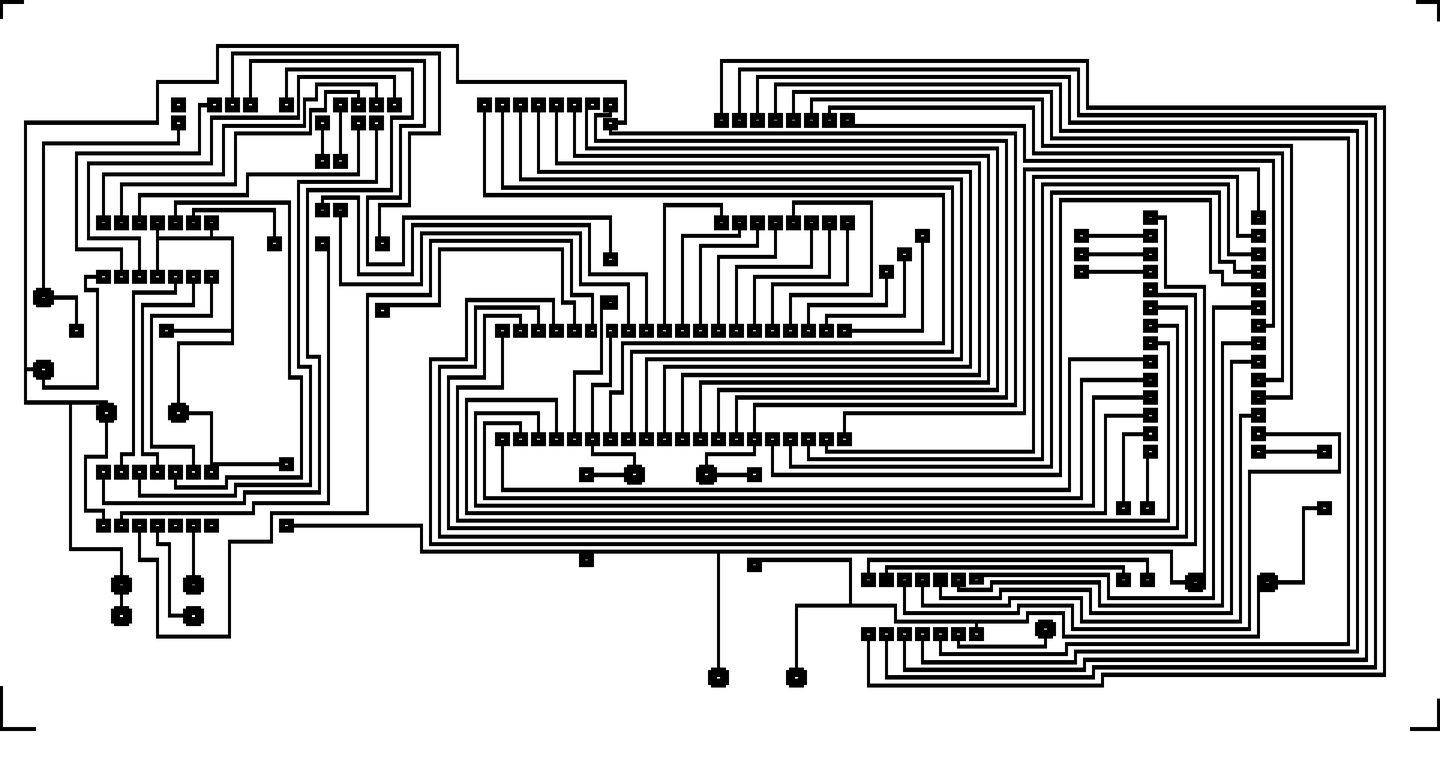
Notice the marks at the four corners of the board. Printed in those Epson codes, the pins of a chip come out about a tenth of an inch apart, which is the spacing of real chip pins, so the printout is the board at its actual size.
If you have no printer, the print file is still yours: MAME's .prn file holds exactly what Eazidraw sent, but it is dot graphics, not text, so it needs converting before you can see it. On a real Einstein, you need a dot matrix printer that understands Epson graphics codes.
| Key | Does |
|---|---|
| Z, X, :, / | cursor left, right, up, down |
| M, D, E | move, draw, erase mode |
| L | track width |
| G | cursor graduation |
| H, V | chip across, chip upright |
| C | number of pins for the next chip |
| 1 to 7, then P | pad type, then place a pad |
| SHIFT with I R C Q X | place a label |
| SHIFT-D | show the labels |
| SHIFT-S | swap between side A and side B |
| SHIFT-M | show both sides |
| grey cursor keys | scroll the board |
| ESC | the other status row |
| SHIFT-H | help |
| GRAPH-S, GRAPH-L | save, load (with .PCB) |
| GRAPH-N | new board, without asking |
| GRAPH-P | |
| GRAPH-W | back to DOS |
If you used Eazidraw to make a real board, or know more about Bob Draper's program, we would like to hear from you. The contact form is at tatungbytes.co.uk/contact.