module
14
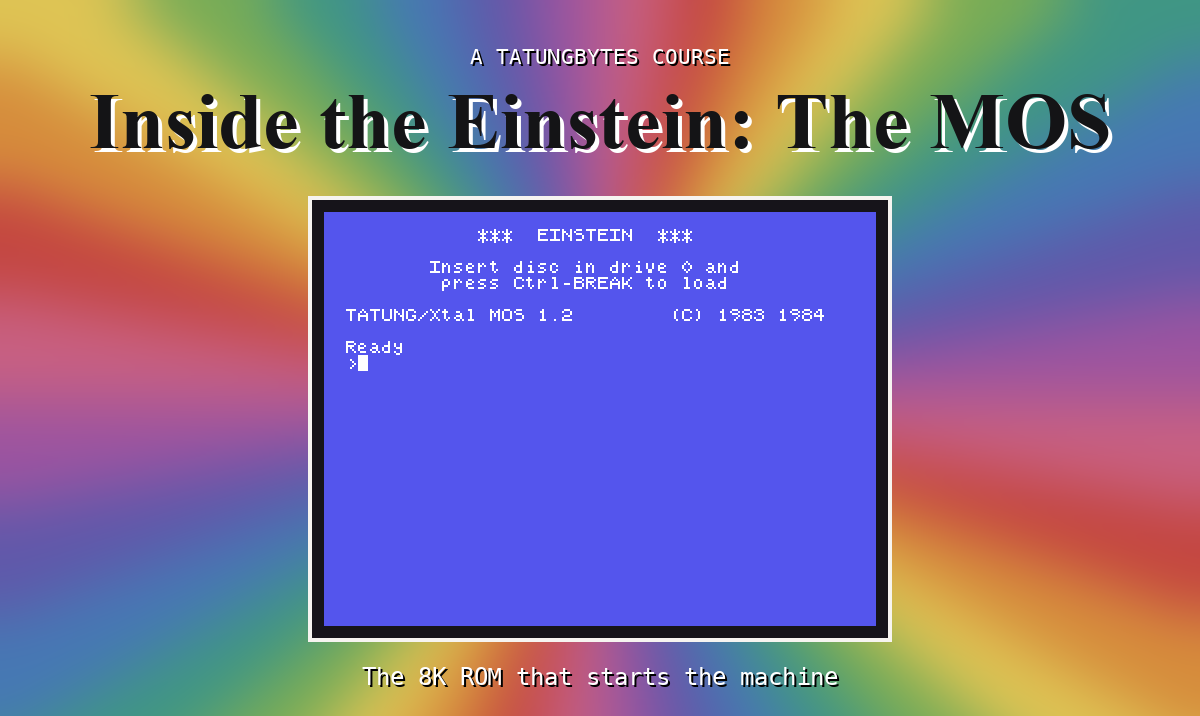
Through the course you have changed single bytes to prove a point: an entry in a table, a key. Here you put several changes together into one MOS that is recognisably yours, and practise the skill that matters most for that - starting from something you can see on screen and finding the byte that makes it.
Every change in this section follows the same three steps.
KTAB; a starting value of a MOS variable between FB00h and FB45h is in SCINIT, at the same offset as the variable's address from FB00h.The fourth step is the one that teaches: predict what you will see before you look.
The version number. The 2 of MOS 1.2 is at 0145h, the sixth byte of the line for 0140h:
defb 04fh,053h,020h,031h,02eh,039h,020h,020h ;0140
032h is now 039h.
The prompt. The prompt character lives at FB40h (S9), and start-up copies it there from SCINIT, which begins at 0FF0h. FB40h is 40h bytes into the copy, so its starting value is at 0FF0h + 40h = 1030h, the first byte of this line:
defb 023h,020h,0a0h,010h,002h,001h ;1030
03eh (>) is now 023h (#).
A key. The Q key, the fourth byte of the line for 1128h (S11):
defb 072h,065h,077h,02ah,082h,055h,059h,054h ;1128
071h (q) is now 02ah (*).
A letter's shape. A at 1275h, redrawn with a flat top:
defb 000h,07ch,044h,044h,07ch,044h,044h,000h ;1275
00h  ........
7Ch  .#####..
44h  .#...#..
44h  .#...#..
7Ch  .#####..
44h  .#...#..
44h  .#...#..
00h  ........
Make the four changes in your copy of mos12.asm (from the course's files), then build and boot it as in S5:
z80asm -i mos12.asm -o mos12.i023
zip einstein.zip mos12.i023 mos121.i023
mame einstein -rompath . -window
When the prompt appears, type q and then A.
What you should see
MAME warns that the ROM's checksum is wrong - it is your ROM - and then:

TATUNG/Xtal MOS 1.9        (C) 1983 1984

Ready
#*A
The banner says 1.9. The prompt is #. The Q key typed *. And every capital A - in TATUNG, in BREAK, and the one you typed - has its new flat top.
What you have built is an 8,192-byte ROM image, the same size and form as the one inside the machine. To run it on a real Einstein, it has to be programmed into an 8K EPROM fitted in place of the original ROM; Appendix VI shows how.
Find what you can see, find its address, find its line, change it, build and boot. A handful of bytes - the version, the prompt's starting value, a key's character and a letter's shape - make a MOS that is plainly your own. On a real Einstein, it would go into an 8K EPROM.
S15 goes one step further: not changing what the MOS has, but adding something it never had - a monitor command of your own.
This form is protected by reCAPTCHA, and the Google Privacy Policy and Terms of Service apply.
